4 Things To Consider Before Hanging Those Photo Tiles
Photo wall tiles or Hangtiles are custom-printed pictures in a small, easy to hang format. They are great for making collages, changing out your seasonal decor, and more. When you’re getting ready to decorate your home, make sure that you plan your photo wall tiles in advance. So, what are some things you should keep in mind as you’re planning your photo tiles?
Step 1: Choose Your Location
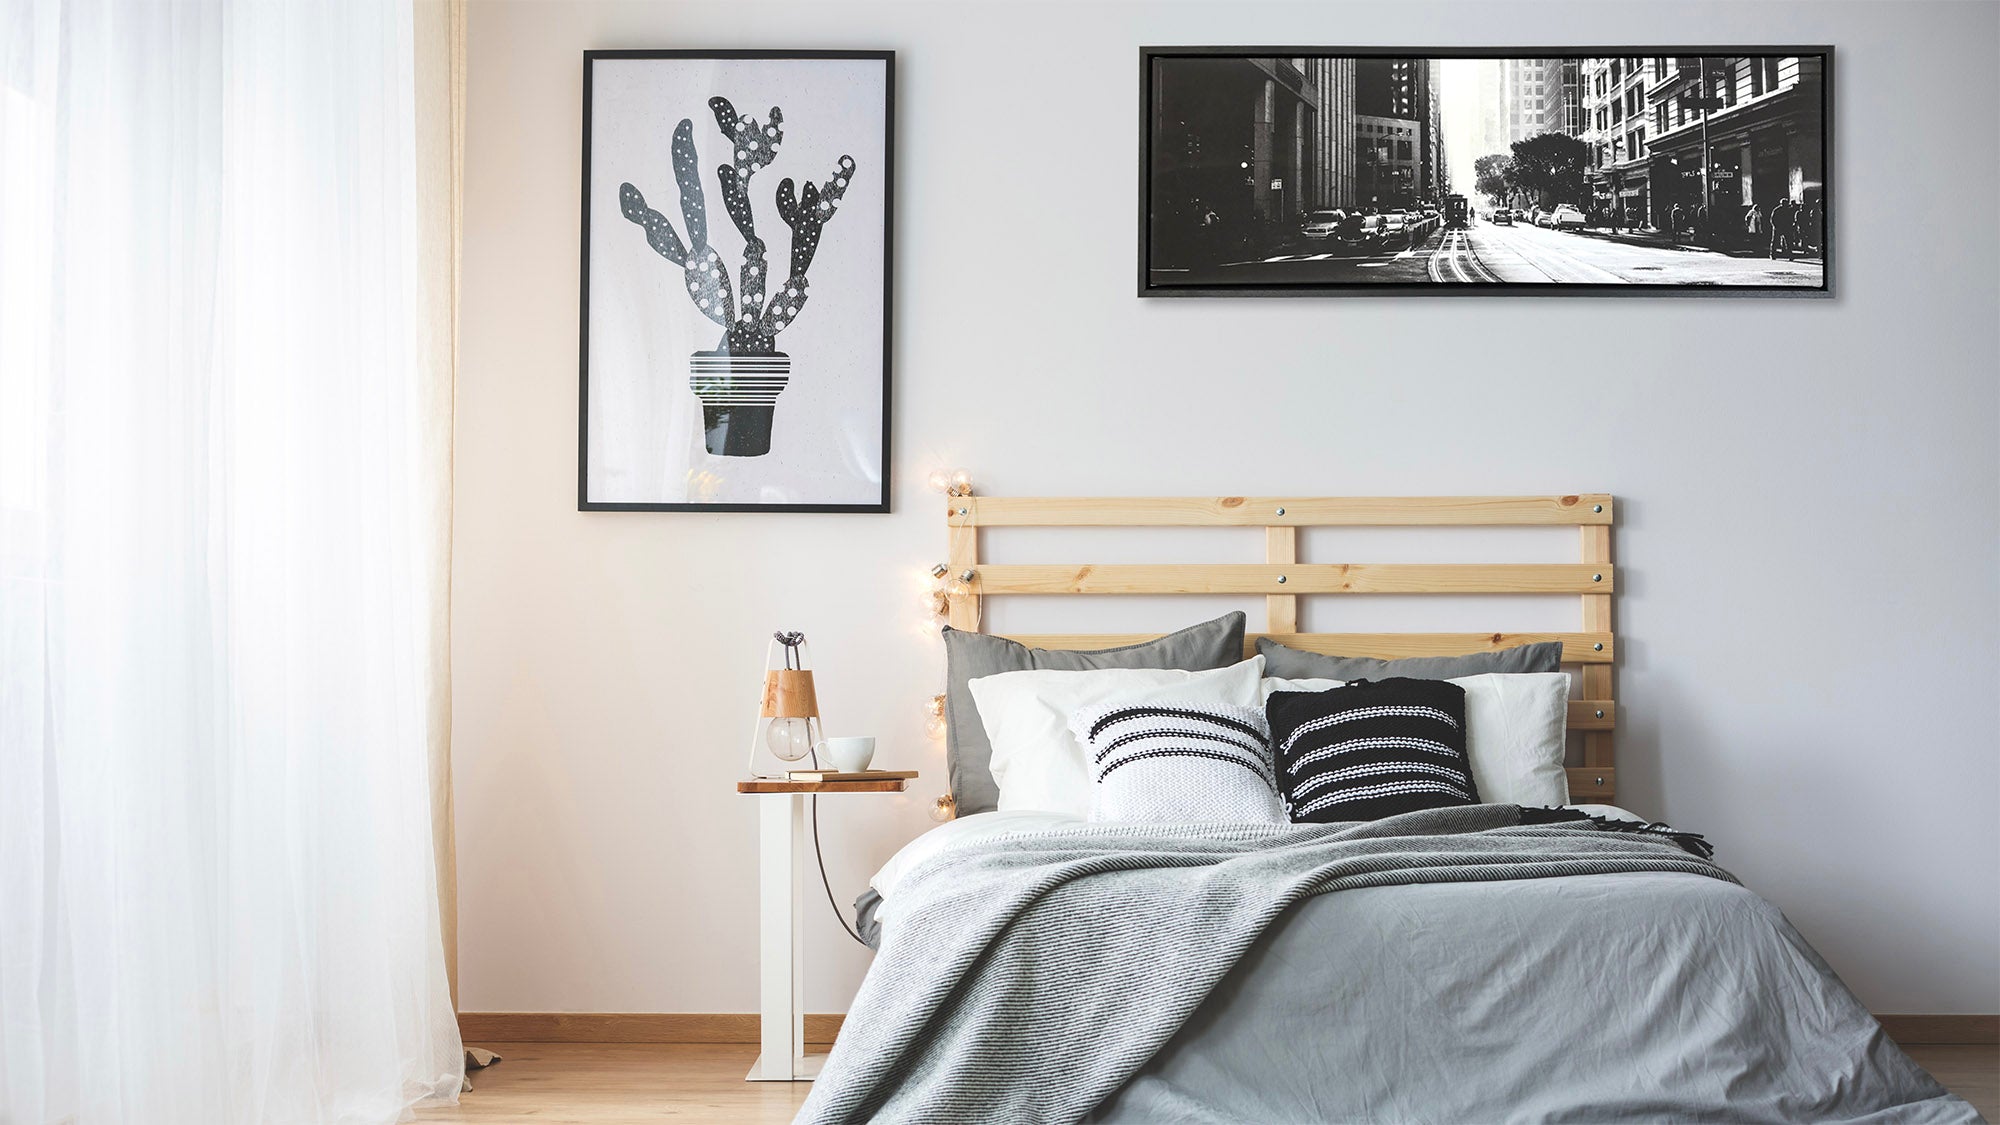
Look around your home for the perfect space where a Hangtile will add beauty and interest. You can enhance a small wall or space with a single photo tile or find an open area to create a gallery wall showcasing a variety of memories.
When determining the space where you will affix the photo tiles, consider the paint scheme and the surrounding decor. Do you wish to complement the current colours of the space or provide it with contrast? Let your photos be your guide to create a beautiful display of artwork.
Step 2: Plan Your Layout
Based on how many Hangtiles photo tiles you have ordered, you can begin laying out the pattern of how you will position them on the wall. Just choose what works best for you.
Create a unified appearance or mix and match based on the picture’s colour and subject content. It is easy to add a complement or contrast to your existing decor or artwork with these options.
If you have a specific layout or design in mind, you can just start placing up your Hangtiles. The great thing is that if it doesn’t work out exactly how you had in mind then you can keep moving them about until it’s perfect - that’s the beauty of the adhesive technology and sticking and re-sticking wherever you want. If you are a complete perfectionist though and want to mock up the arrangement first to get an idea, then consider making a template of the photo tiles and seeing how the design will look on the wall. Do this by laying one on a piece of craft paper and then tracing around the outside edges. Repeat this step until you have the same number of templates as Hangtiles. Next, cut the templates out. Use tac to affix the template to the wall. Take your time in arranging (and rearranging) the templates until you find a suitable arrangement.
Create a gallery wall, a diagonal display in the stairwell, or make columns or rows in unique places in your home. A single Hangtile will make a standalone statement, too. However you plan to display your photos, planning the layout allows you to get an idea of how it will look.
Step 3: Measure
Measuring and giving proper spacing to your Hangtiles is easy when using a ruler, tape measure, and a level. Measure the space around your templates if you are making a gallery wall. Or measure the area that you wish to hang your photo tiles. Use a level on top of the tape measure or ruler to ensure your picture is straight. Mark off a short length on the top of the template or dot the two top corners with a pencil. Once you finish, it is time to move on to the next step.
Step 4: Affix The Hangtiles To The Wall
Once you have determined the ideal positioning you can peel the protective strip off the adhesive backing. Stick and restick as needed until you find the ideal placement. If you desire a change, we made it easy to remove the Hangtiles and reposition it.
Enjoy your home and appreciate your memories with high-quality photo tiles in the UK. They are sleek and lightweight with a modern aesthetic. We know you will love them as much as we do.


