A guide to printing your photos
Use the guide below to help you find the dimensions of your image and what size you will be able to print your image/s. Our online calculator will output the maximum size you can print to and you will be able to check which aspect ratio your image best suits.
What size will my image print?
1. YOUR IMAGE SIZE
How To Use The Calculator
Once you have your dimensions ready - for example - if I had an image that was 12000x4000. Simply enter 12000 into the width and 4000 into the height and the size you can print up to in inches will be displayed.
NB - the calculator will give you the 'up to' size for your image, so in other words it doesn't mean you have to go for exactly that size (we might not even offer the size you get from the calculator), it just means you can go for any size we have available up to that size.
This is not an exact science as each image is different but is a good guideline. So if your image came up a bit short of the size you were hoping for then please start a chat with us so we can check your image out and advise.
Don't have a suitable image? No worries, we can help source one for you from millions of photos (any destination/landmark/scene etc). Simply start a chat with us
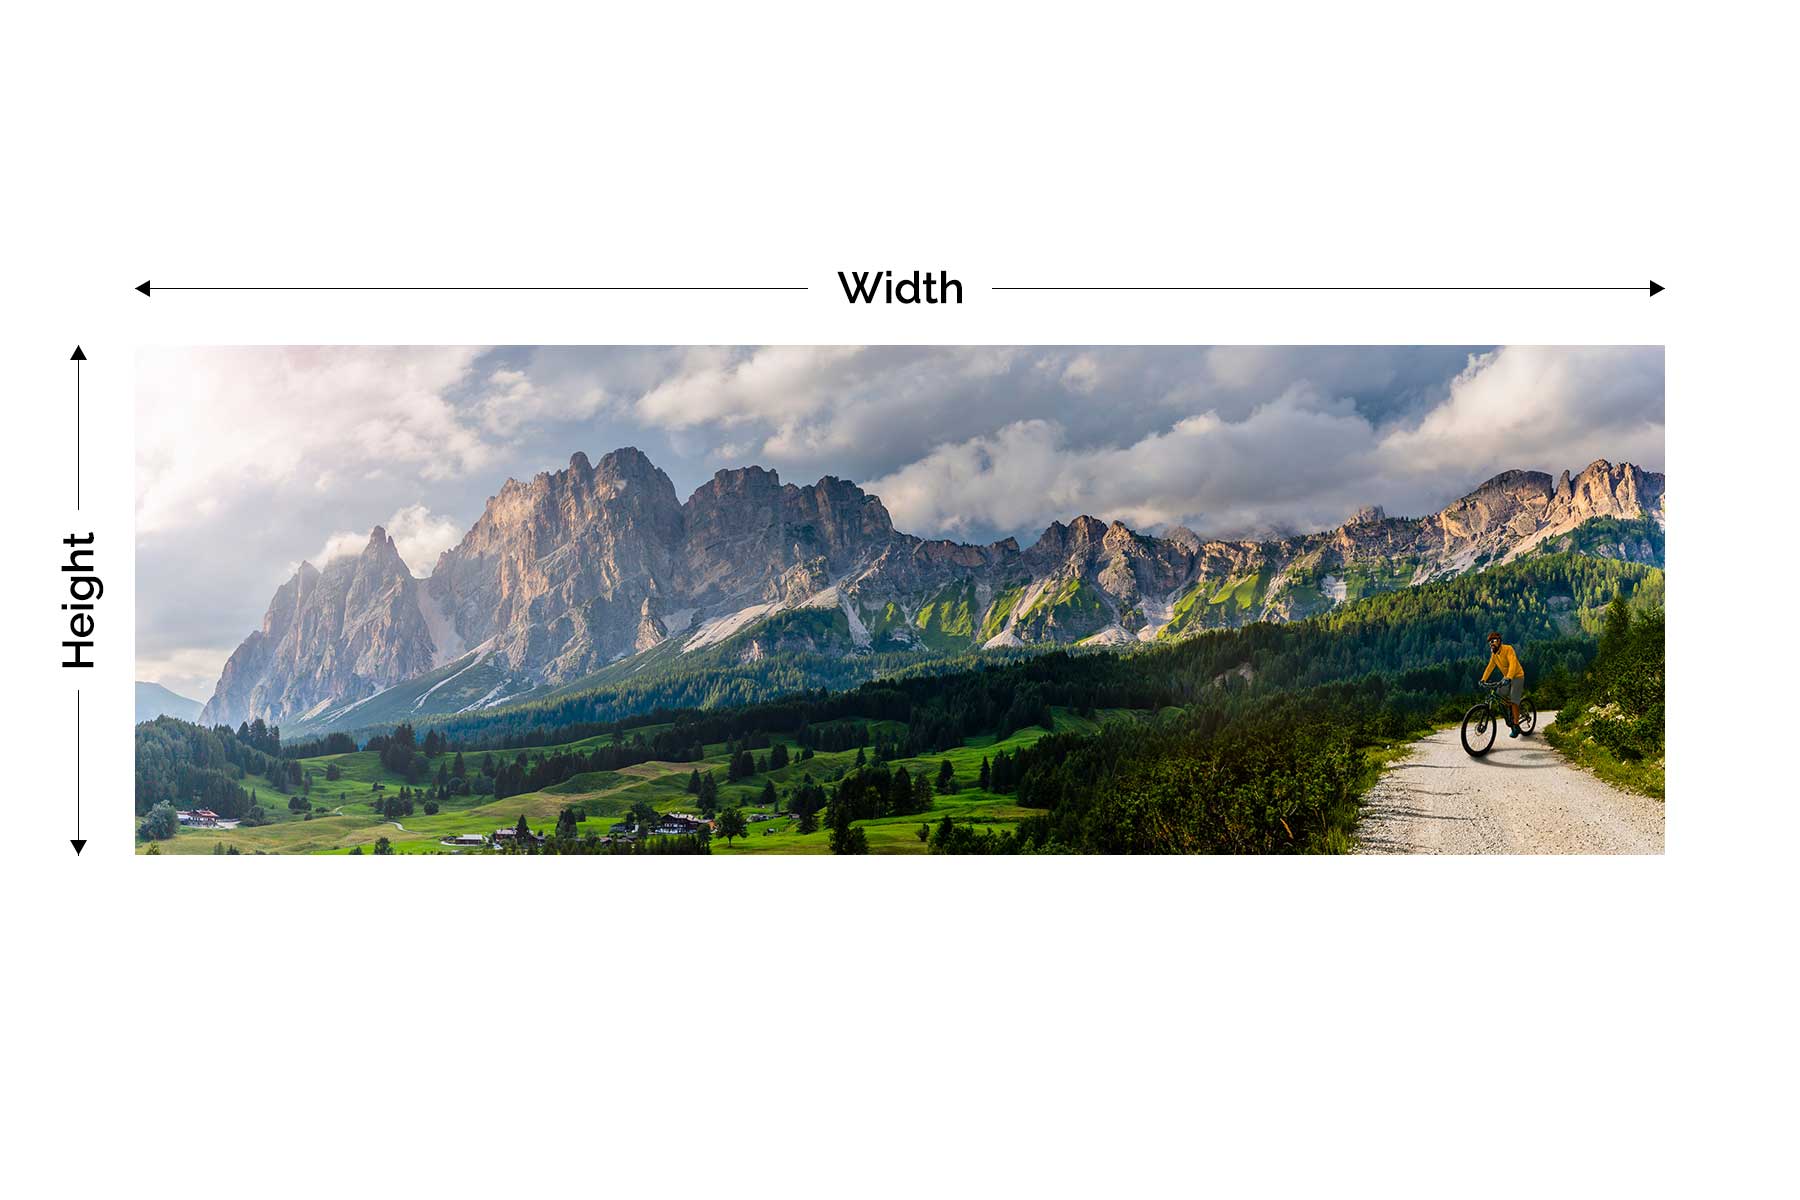
Enter Your image dimensions:
See information below (scroll down the page) on how to get the image dimensions for your image if you are unsure.
Getting the correct image file
Important Image Information
Always ensure your image is the original, full size version from the device it was taken on. If it was sent to you via a messaging service (Facebook, WhatsApp etc) then it is likely a compressed version. Also iPhone's can often store the original in your iCloud and copy a smaller version to your phone to save space on your device. Always get the image from your iCloud to be on the safe side.
If you are still unsure and all of this is confusing you then simply ask us. Just start a chat by clicking the pink chat icon bottom right and we will assist and let you know the best size quickly.
Rest assured that we will also check every single photo that is uploaded with an order so if it is not suitable we will let you know and assist you from there. You are in safe hands with us. We will never just print an image if we do not think it is suitable.
How to guide
Getting Image Size From An iPhone/iPad
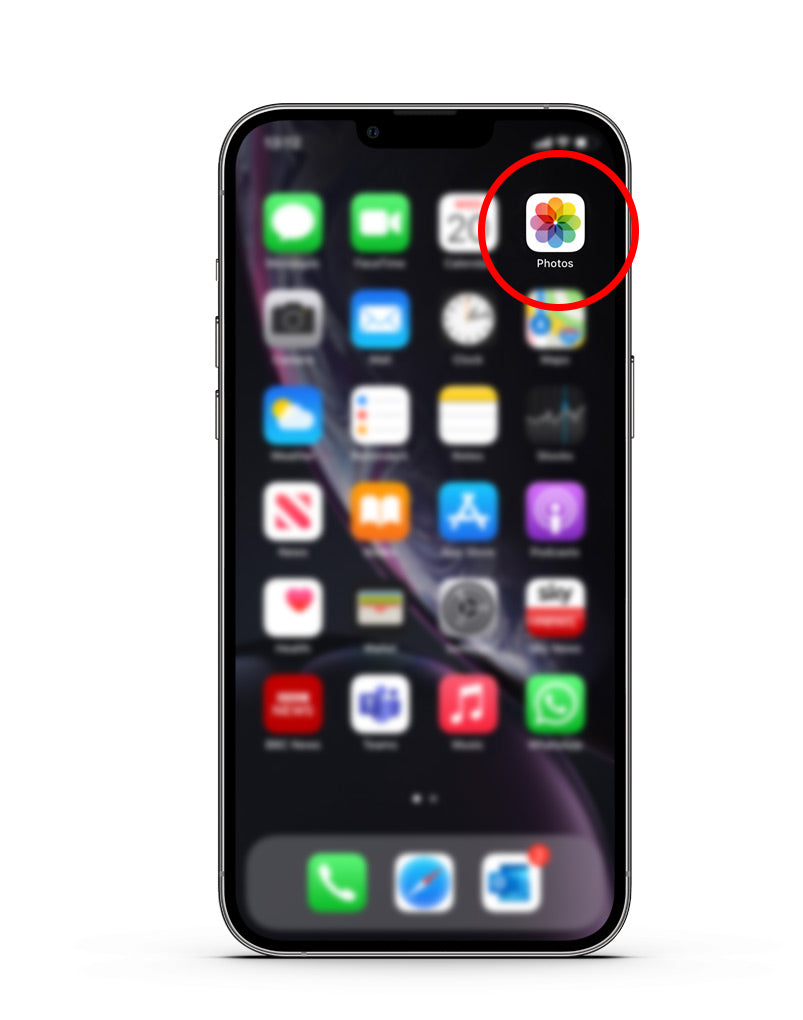
Step 1
Open the Photos app on your iPhone and locate the image. Please make sure it's the original image that was taken with the device - an edited version could be compressed.
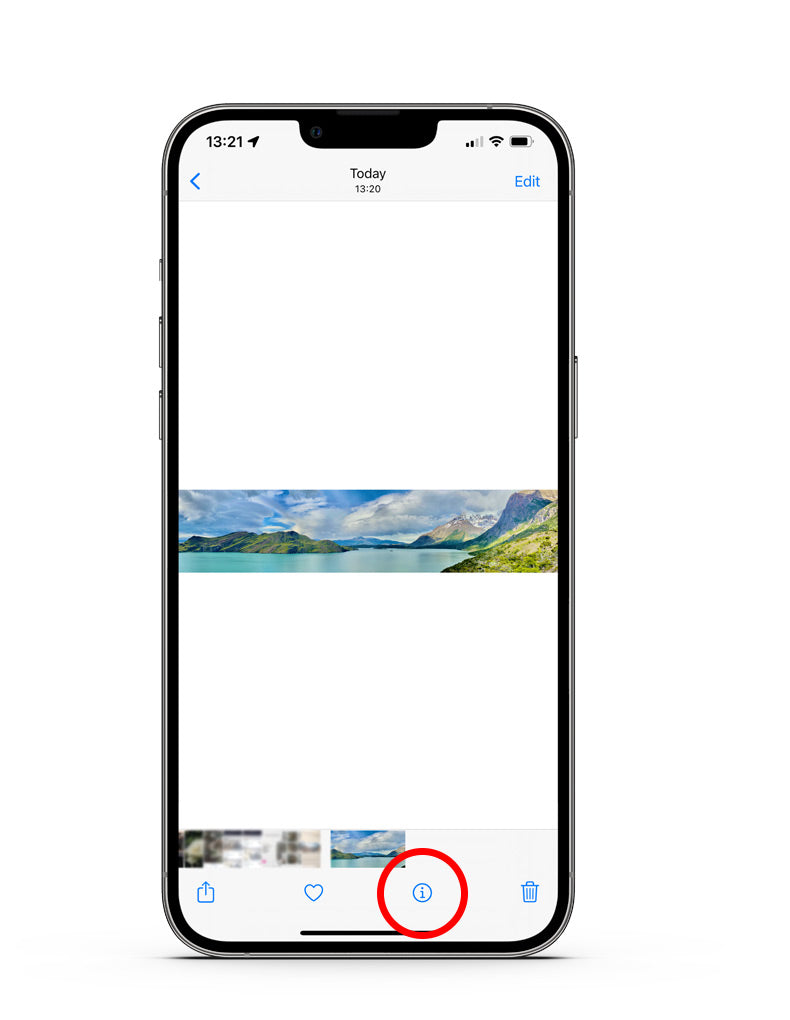
Step 2
Once you have located your image, click on the 'i' icon at the bottom of the screen. Please note that this is only available in iOS15 onwards.
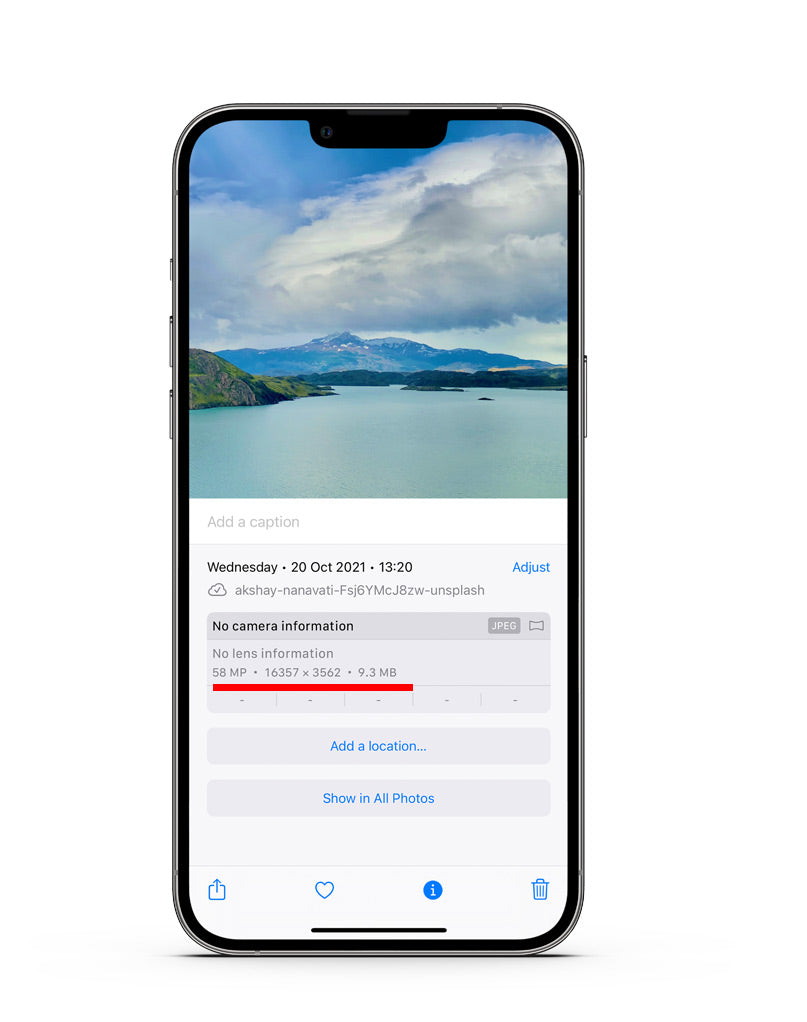
Step 3
After clicking the 'i' icon a section will appear with info about the image and the dimensions will be displayed here. In this case it's 16357 x 3562. Enter this into the calculator above and you can see how large you can print with us.
Getting image size on Your Computer
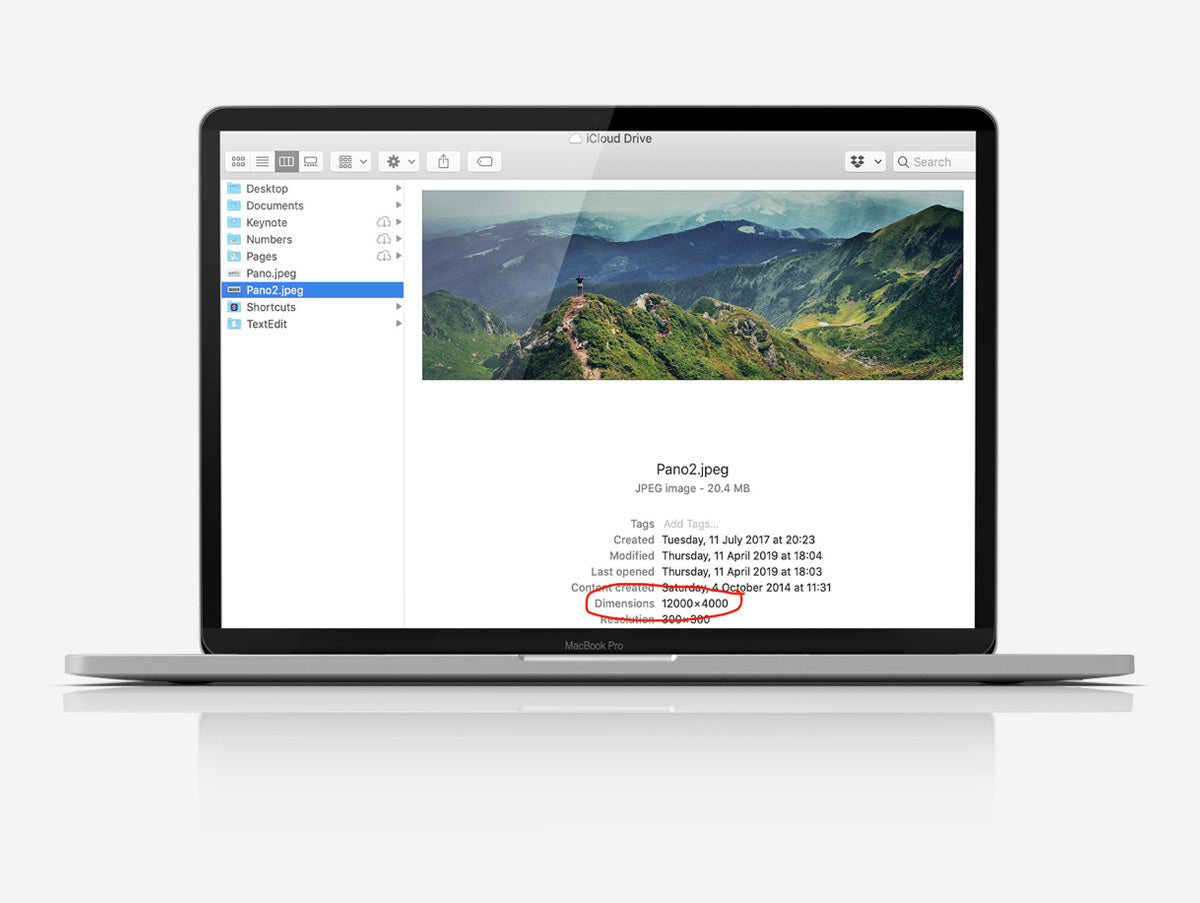
Open your documents folder and locate the image. Select the image and an information panel will appear where you can find the dimensions.
Getting image size from Google Photos (on Android devices)
Open the Google Photos (or gallery app) and locate the original image taken on the device. Then simply click the 3 dots (...) and select 'details'. A screen will appear with the image data on and the dimensions you require.
Which does your image suit?
2. YOUR IMAGE ASPECT RATIO
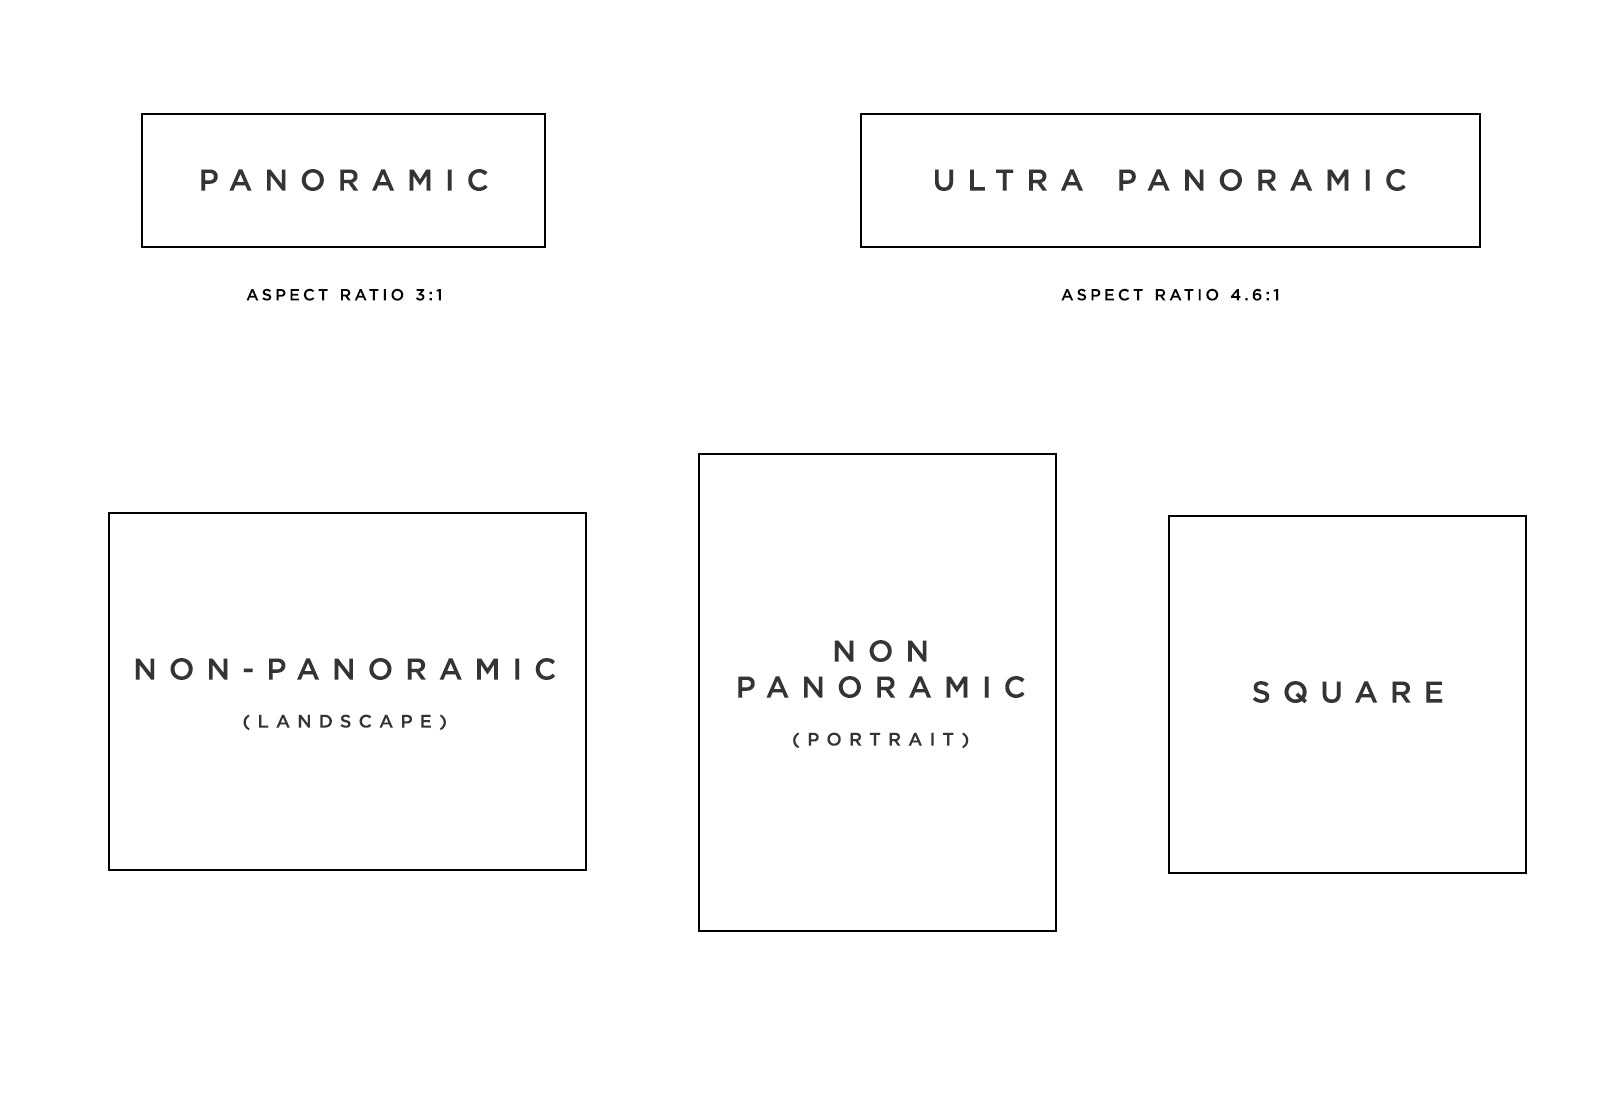
If you are after a panoramic print, then does your image look like a standard panoramic or a wider panoramic image (ultra panoramic)?
Panoramic
Wider than a regular photo. Also most used to crop a 'normal' size image to create a panoramic from a section of the image.
Ultra Panoramic
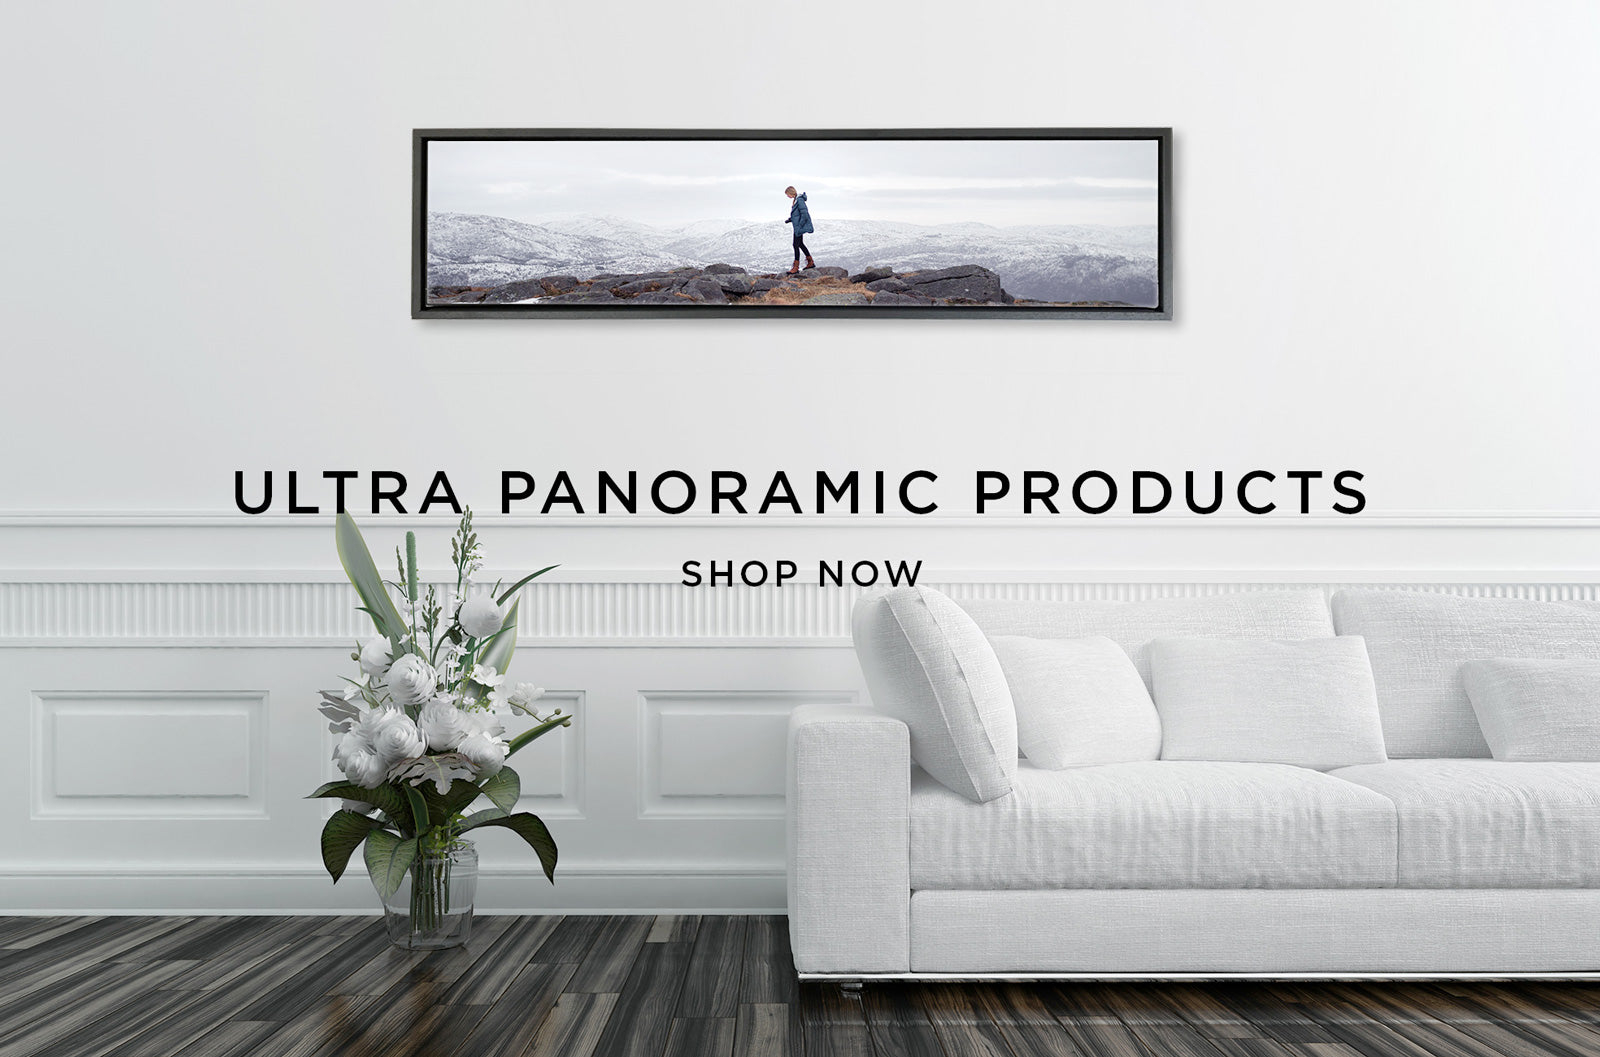
This is suited to the much wider panoramic images. Often best for the images taken using your smartphone's panoramic mode. Think of 'ultra' as ultra wide.
Non Panoramic & Square
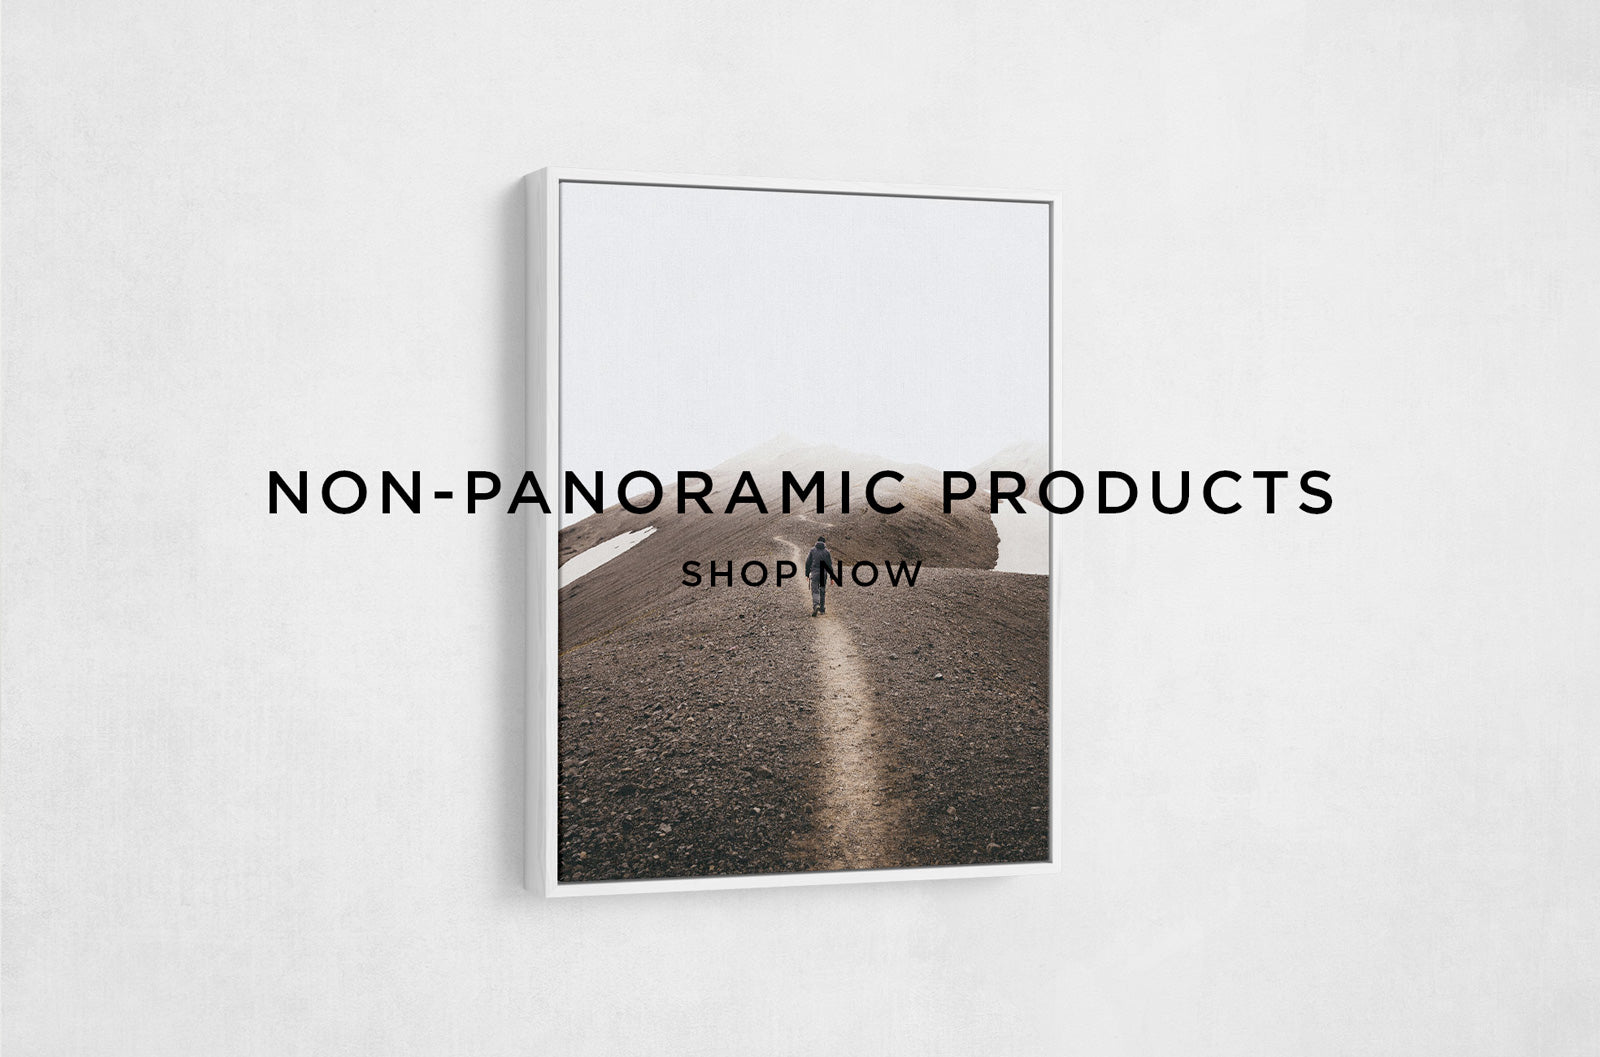
This is for all of your regular photographs. We have both landscape and portrait options available as well as square options.
If you are still unsure then you can upload your image to both the panoramic and ultra panoramic product pages and an image editor will appear showing the print area and you can determine the best for your image.
A size and product for all
3. CHOOSE PRODUCT
Now you know the size you can go up to and the aspect ratio of your image, its time to choose a product.
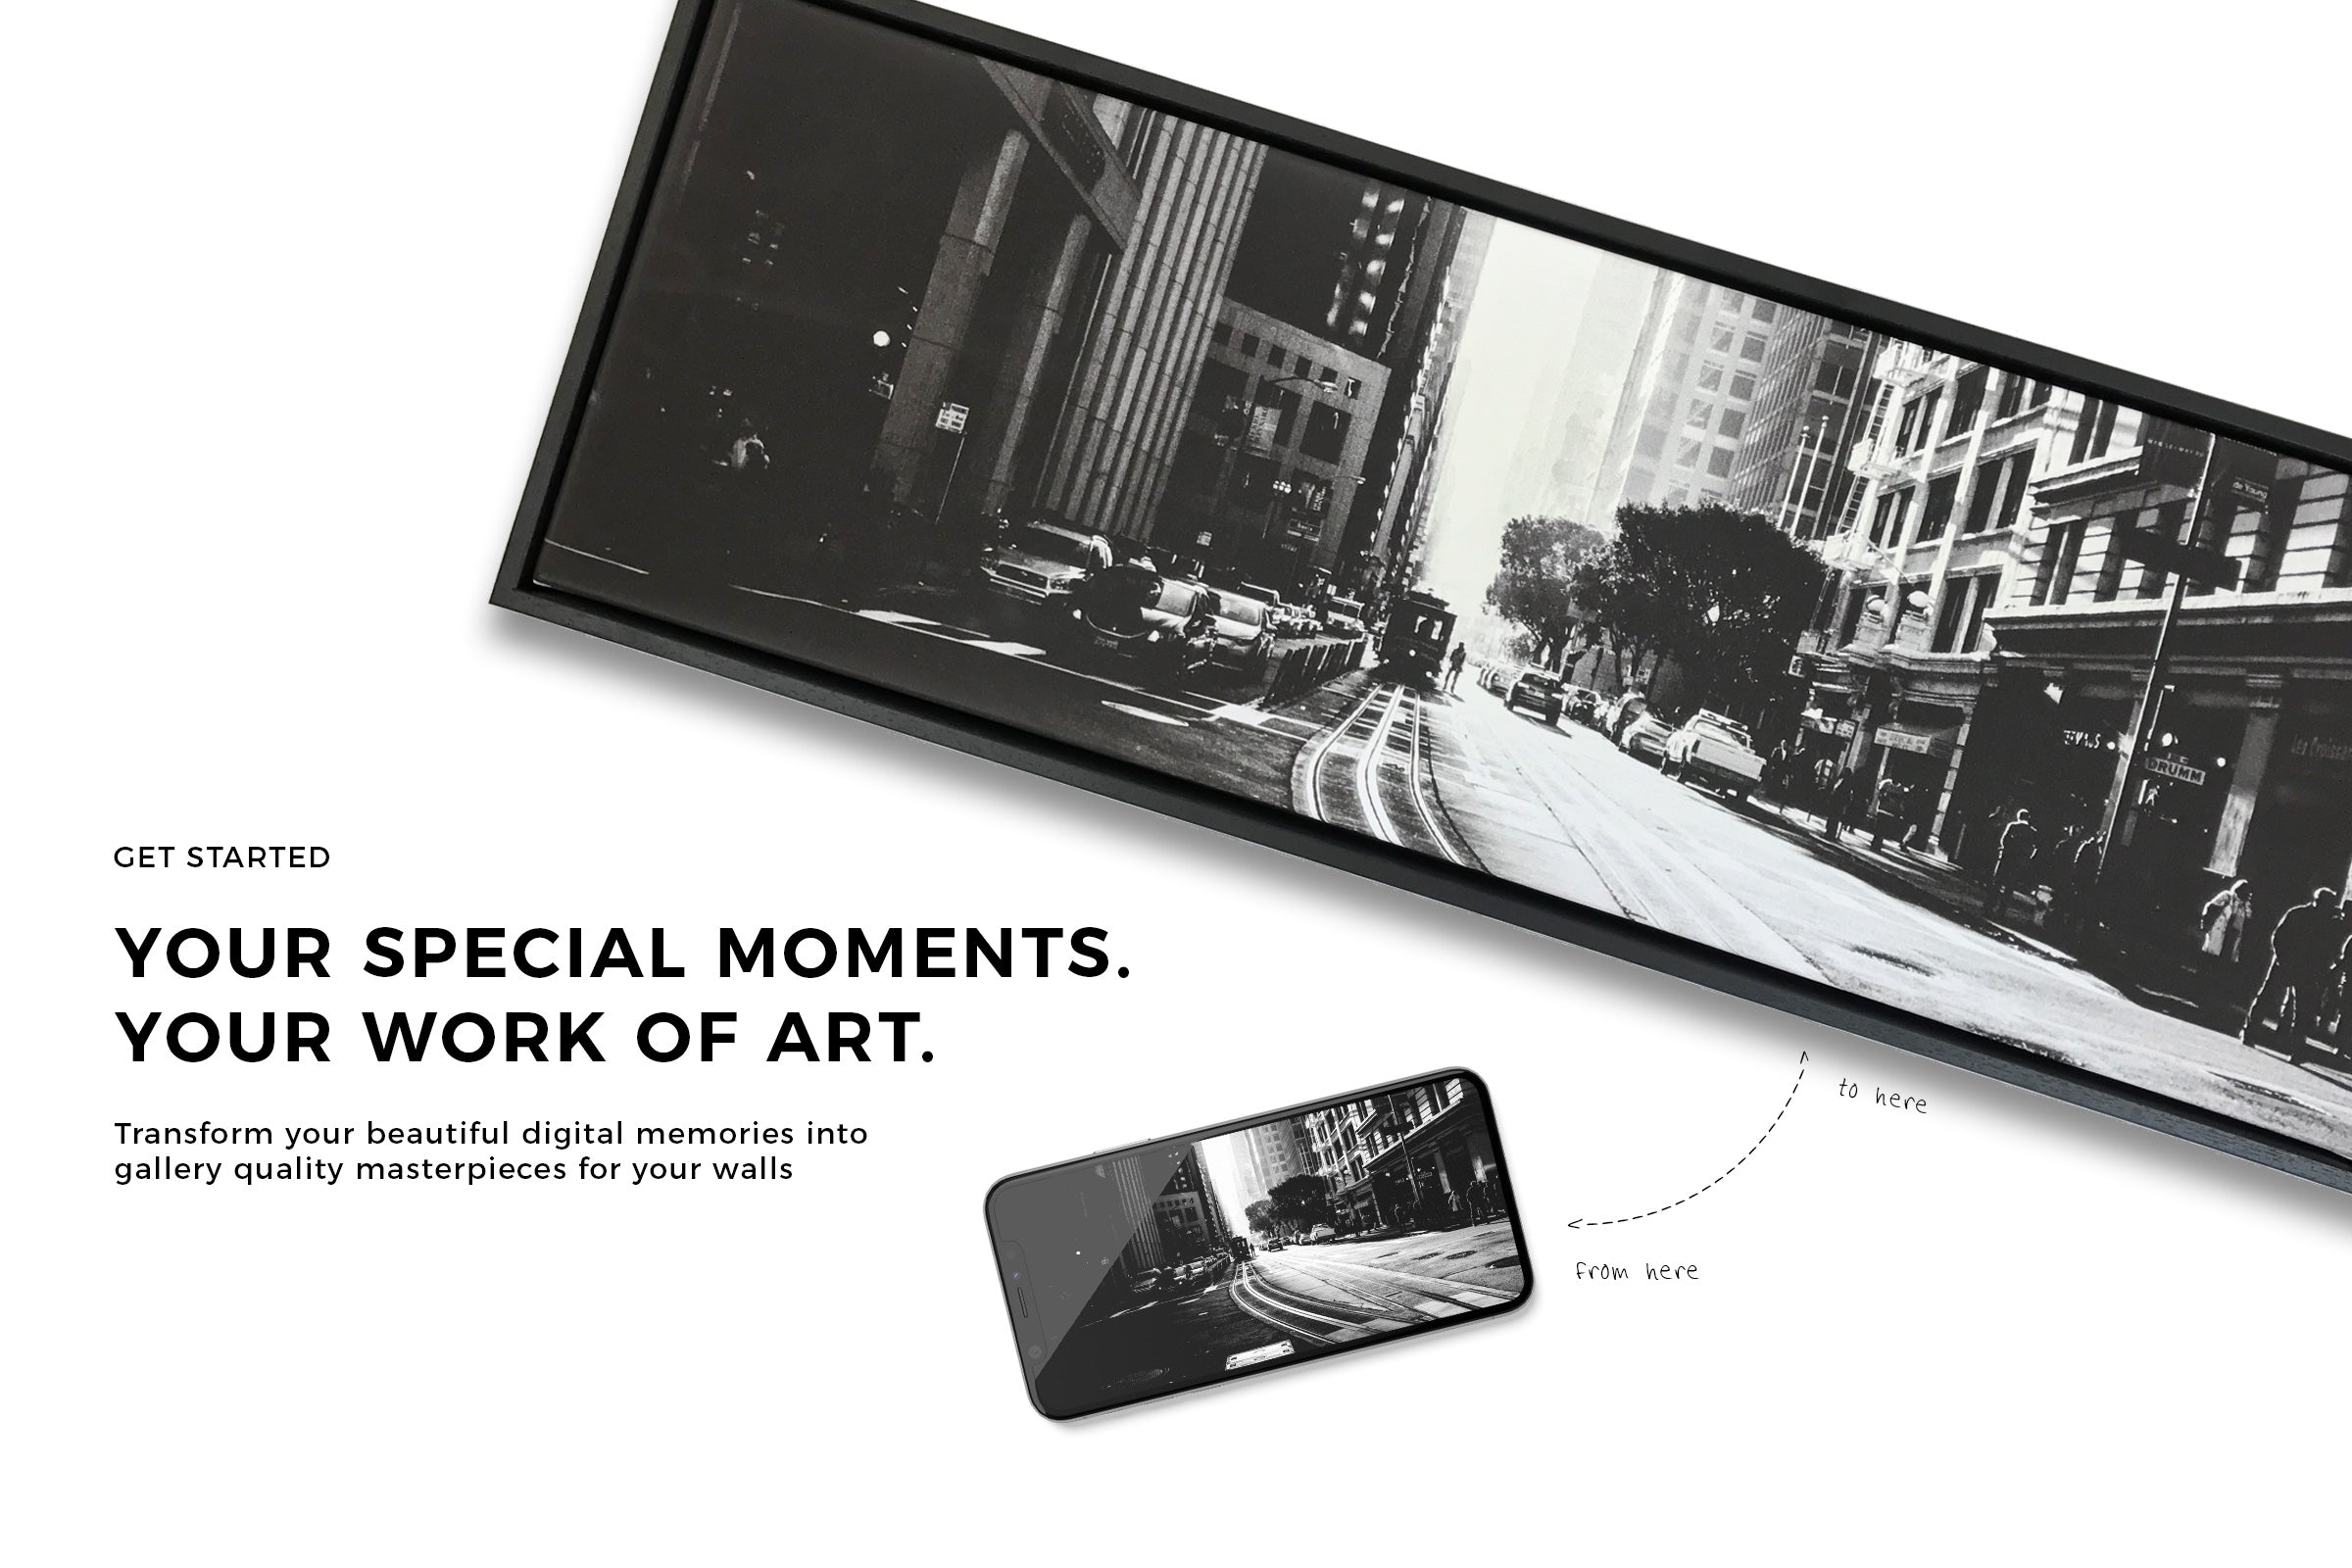
We have lots of products to choose from including photo framed prints or canvas prints through to mounted options such as acrylic or aluminium. You can view all products here.
On the product page you can choose your options such as the size and frame colour etc (if applicable). Then select 'choose file' to upload your image. If you would like guidance on how to upload your image then see our upload guide.
Get Creative
Other Products
You're ready to order
4. That's it
Now you can simply add to cart and proceed to checkout.
Remember if at any stage you need help simply start a live chat with us (pink chat icon bottom right of screen). We are very friendly and super helpful :-)
Need help?
Further information
Uploading a file
Resolution of an image refers to the level of detail and clarity that can be seen in a digital photograph. It determines how sharp and crisp the image appears when viewed or printed. Contrary to a common misconception, the resolution is not solely determined by the number of pixels per inch (PPI) or the megapixels of the camera used to capture the image.
While PPI and megapixels play a role in resolution, other factors such as the quality of the camera and lens also significantly impact the overall resolution and image quality. Modern enlarging software has advanced to a point where it can enhance and enlarge images that would have previously been deemed impossible. Thus, simply uploading a photo to our website does not result in automatic rejection based on resolution. If you are unsure start a live chat with us and we will check your image.
To ensure the best possible outcome when enlarging an image, it is recommended to upload the largest file size available. This provides more data for us to work with, allowing for better details and overall resolution. Whenever feasible, it is advisable to upload the original file from your camera or phone as those are typically of higher quality. Images sourced from social media platforms like Facebook or from message services suchas WhatsApp might not enlarge well as they are often compressed and optimised for server storage, sacrificing resolution and detail in the process.
We take the time to review each uploaded photo personally. If we find that the quality of a photo is not adequate for the desired enlargement size, we will contact you via email to discuss alternative options. By following these guidelines and considering the various factors that affect image resolution, you can achieve the best possible results when enlarging your photographs.
In photography and digital files, the aspect ratio of an image refers to the proportional relationship between its width and height. It's often expressed as a ratio, such as 4:3 or 16:9.
Imagine you have a rectangle, and the aspect ratio tells you how much wider or taller one side is compared to the other. For example, in a 4:3 aspect ratio, if the width is 4 units, the height would be 3 units. This ratio remains consistent no matter how big or small the image is.
Aspect ratios are important because they influence how an image looks and feels. Different aspect ratios can create different visual effects. For instance:
- Cropping: If you want to print an image in a specific size, you might need to crop it to match the desired aspect ratio. This involves cutting away parts of the image to achieve the desired width-to-height ratio.
- Composition: Aspect ratio can affect composition and how the viewer perceives an image. A panoramic shot might use a wider aspect ratio to capture a broad scene, while a square ratio might be used for a more centred composition.
- Presentation: Outside of printing then different platforms and devices use specific aspect ratios. For example, Instagram prefers a square aspect ratio, and widescreen TVs use 16:9.
In summary, aspect ratio is a fundamental concept in photography and digital imaging, influencing how an image looks and fits into different mediums. It's a key consideration for photographers and designers when composing, cropping, and presenting their visual content.
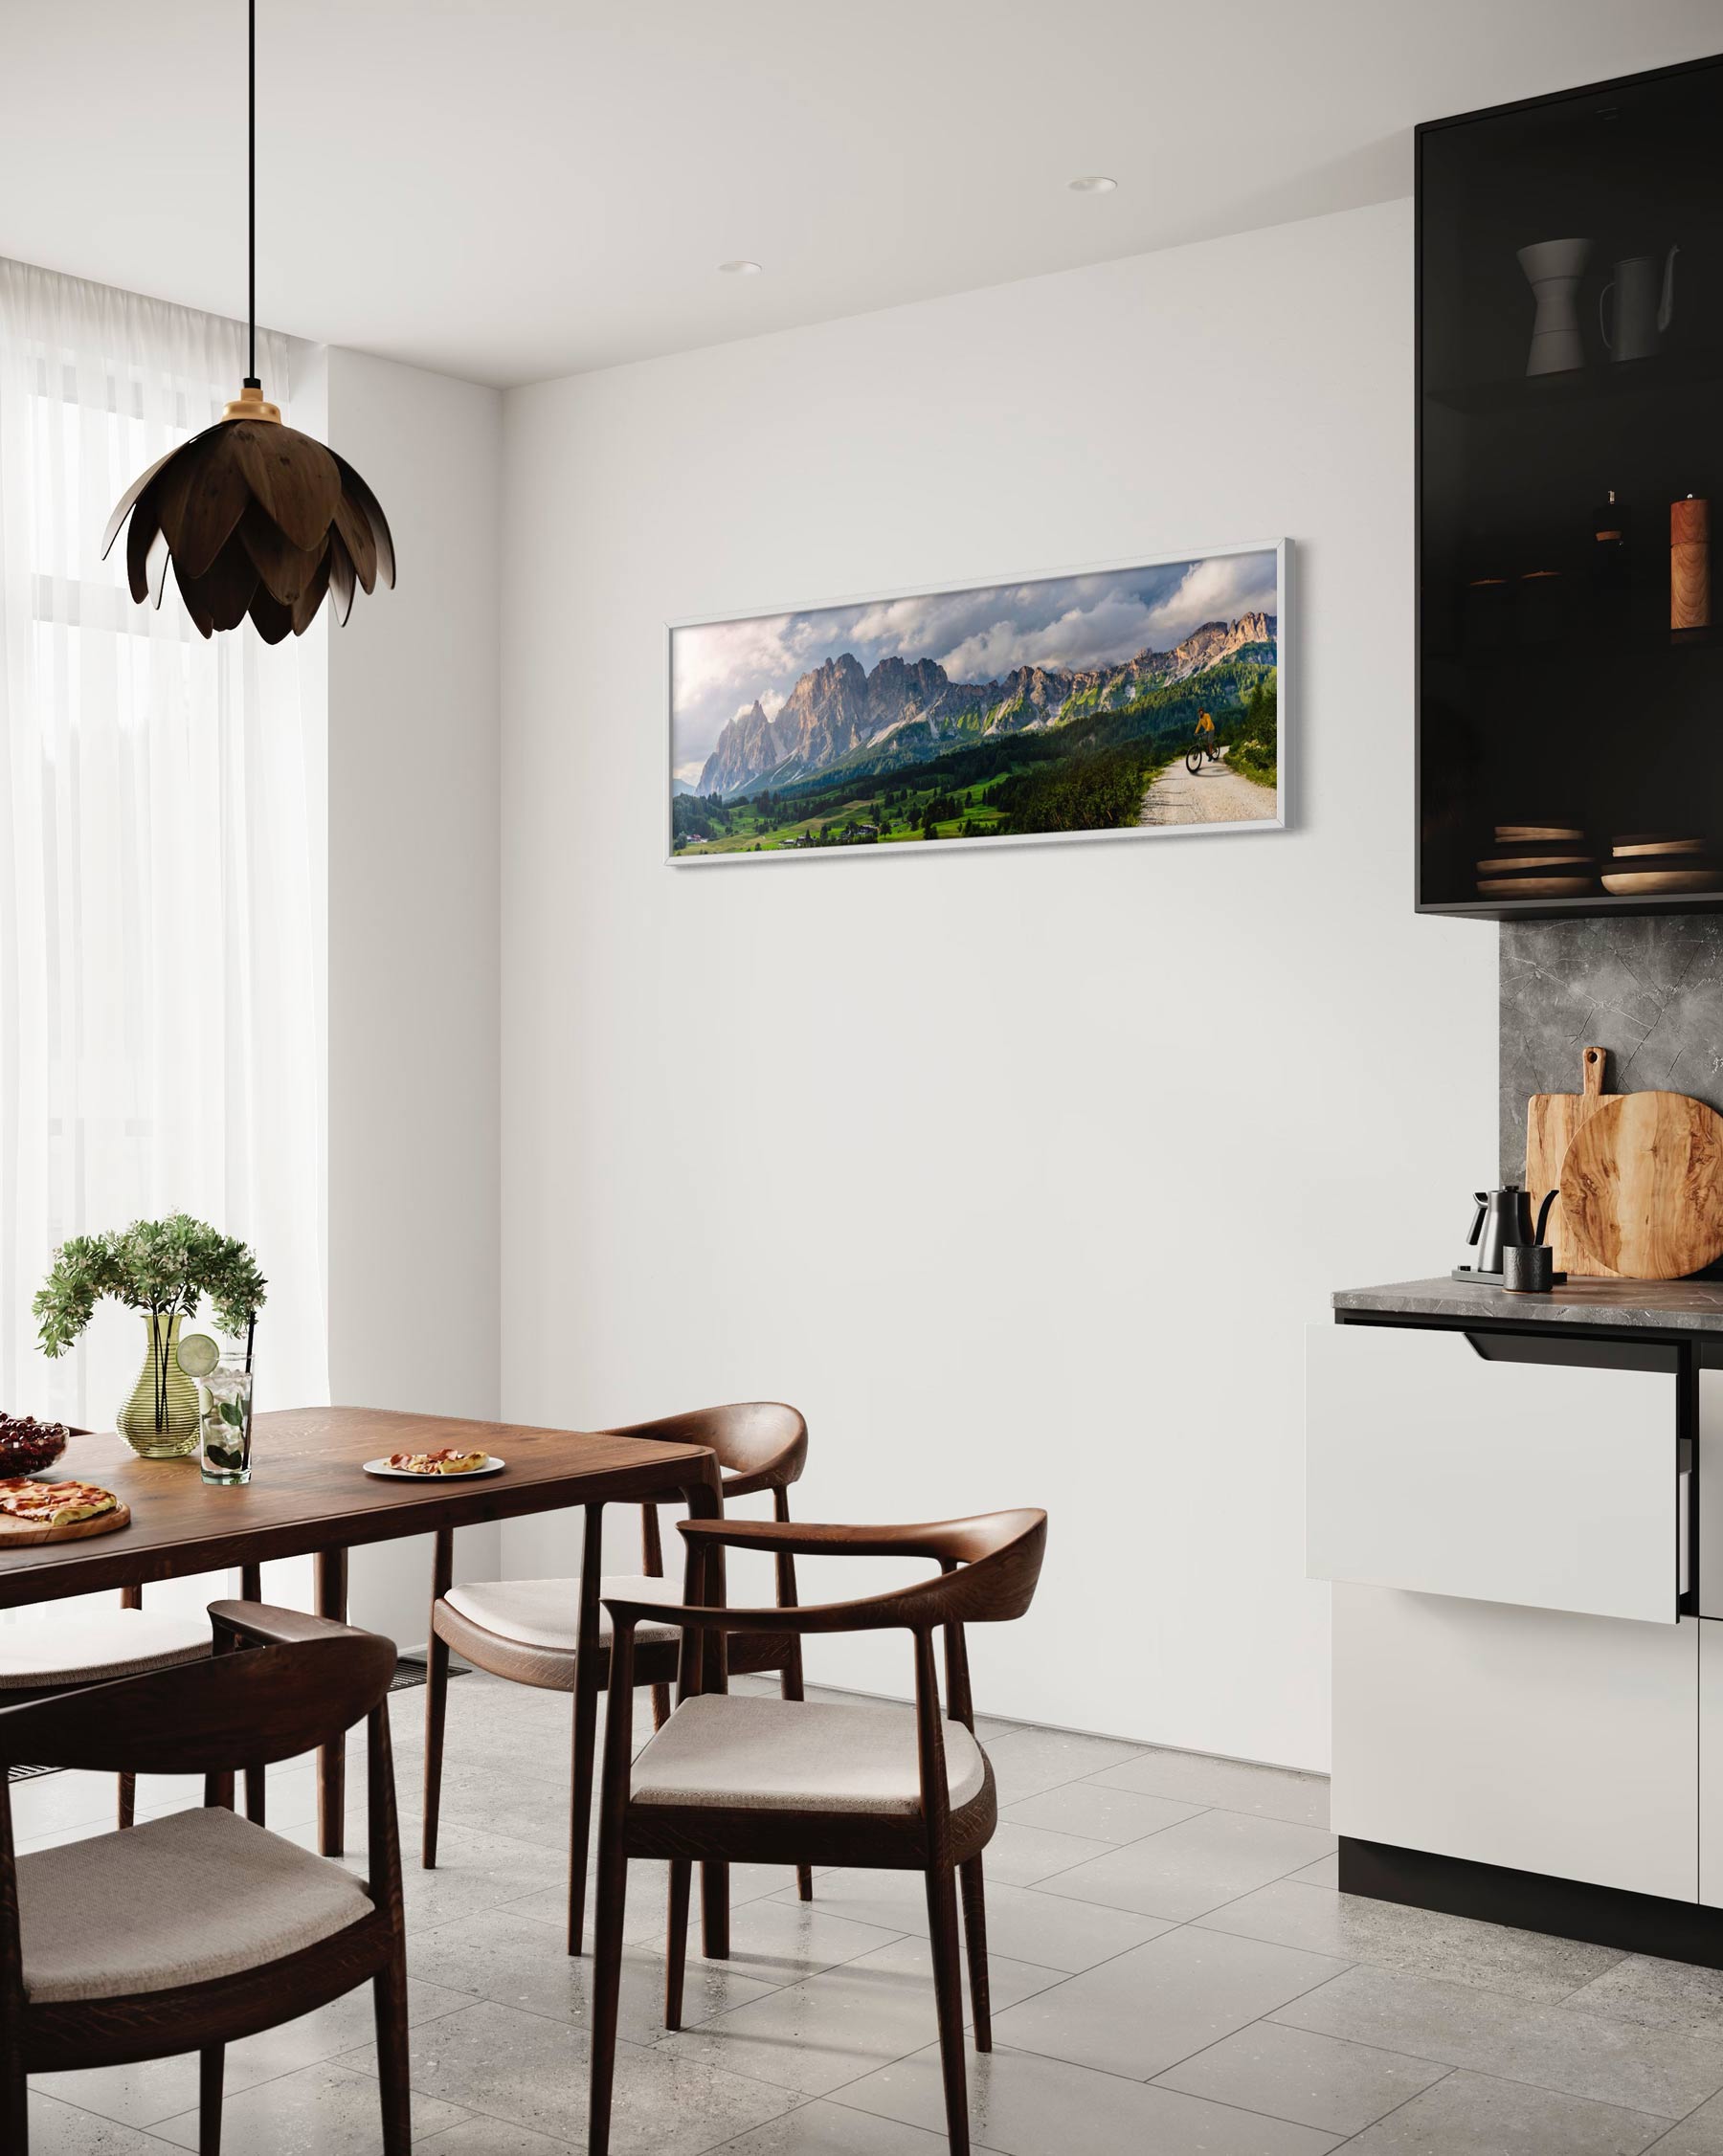
A panoramic size photo is a wider image compared to a regular photo. It is commonly created by:
1. Using the panoramic mode on your device to create a panorama - the internal software will automatically stitch a number of photos together as you pan across capturing the image, providing you with a single and seamless panoramic photo.
2. If you are a enthusiastic photographer then you may take a series of regular shots next to each other and manually stitch all these images together yourself using photo editing software to create a panorama.
3. Cropping a 'normal' size image to achieve a panoramic effect.
The width of a panoramic photo is expanded to capture a broader field of view, allowing for a more immersive viewing experience. Our standard panoramic print options include two different aspect ratios to cater to various preferences and devices. These include Panoramic (3:1) and Ultra Panoramic (4.6:1) - more specifically designed for iPhones, mobile devices and Sony panoramic cameras. To determine the ideal size range for your photography, we recommend using our image calculator at the top of this page and then uploading your photo and selecting from the available options. Whether you prefer panoramic posters, panoramic frames, or canvas prints, we offer a range of styles to showcase your panoramic size photo in the best possible way.
No problem whatsoever, we can offer you custom sizes to suit your image. Start a live chat with us and we can run through some options with you. We can offer square sizes of 1:1 aspect ratio for all of our products on our website - so whether you are after a square canvas print or a square framed print or even a square acrylic then we can sort that for you.
Yes we have a whole range of sizes that we can offer you. Simply get in touch with us via the live chat and we can discuss options and find a solution for your image.

