Here's an overview:
- Understanding the Importance of Scale in Interior Design
- Assessing Your Wall Space: The Starting Point
- The Interplay Between Wall Size and Print Size
- Tips to Visualise Print Size Before Making a Purchase
- Considering Room Function and Print Size
- The Impact of Print Orientation on Wall Aesthetics
- Balancing Multiple Prints on a Single Wall
- Framing and Matting: Enhancing Print Size and Wall Harmony
- Print Size and Room Lighting: Making the Right Choice
- Optimising Print Size for Thematic and Colour Cohesion
- Learning from Common Mistakes: Oversizing and Undersizing
- Final Thoughts: Trusting Your Intuition and Style Preferences
Understanding the Importance of Scale in Interior Design
When we delve into interior design, the concept of scale becomes remarkably important. Scale refers to how items within a space relate to each other in terms of size and proportion. Getting this aspect right can be the difference between a room that feels harmonious and one that feels uncomfortable or disjointed. This holds true for choosing the ideal print size for your wall.
- Visual Balance: In any room, each piece of decor, including wall prints, contributes to the overall balance. A print that is too large can overwhelm the space, while one that's too small may appear lost or insignificant. We must seek a size that complements the furnishings and architectural elements around it.
- Creating Focal Points: A well-scaled print can serve as a focal point, drawing the eye and anchoring the room’s decor. It depends on what we want to achieve; a large-scale piece can command attention, while a smaller print might blend in with a collection of items for a more eclectic look.
- Enhancing Room Proportions: The scale of wall art can also affect the perception of the room's proportions. For instance, a horizontal print can accentuate the width of a room, making it appear broader, while a vertical piece might make the ceiling seem higher.
- Personalisation and Cohesion: We must consider our personal style and the existing decor. The scale provides an opportunity to express personality while still maintaining a cohesive design. The print size should echo our taste, without disrupting the room’s aesthetic unity.
We carefully balance these factors to ensure the print size not only fits the wall but also enhances the overall interior. By respecting the importance of scale, we create spaces that are both visually appealing and comfortable to live in.
Assessing Your Wall Space: The Starting Point
When we begin the journey of deciding on the perfect print size for our walls, the first step is to thoroughly assess the available space. Here's a structured approach to help you evaluate your wall space effectively:
- Measure Twice: Start by measuring the height and width of the wall area where you'd like to hang the print. Pay close attention to the space between furniture and architectural features like windows or doors. The last thing we want is a print that's too large or awkwardly placed.
- Consider Room Function: The room's purpose can greatly influence the size of the print. In a living room or hallway, larger prints can create focal points, while in smaller, private spaces like bathrooms, smaller prints often work better.
- Account for Furniture: The size and placement of furniture can impact the visual balance. For example, a large print above a sofa should typically be about two-thirds the sofa's length to maintain harmony.
- Visual Weight and Balance: Visual weight refers to the way certain elements draw our eye more than others. We must ensure the print does not overwhelm the space nor get lost within it. Balance is crucial for maintaining a pleasing aesthetic.
- Wall Colour and Texture: Remember, the wall colour and texture can also affect how a print is perceived. Darker or textured walls might demand a larger print with a simpler design to stand out effectively.
- Plan for Groupings: If you're considering a gallery wall or a grouping of prints, start by laying out the arrangement on the floor to gauge how they will collectively fill the space.
By taking into account these considerations, we can effectively gauge the appropriate print size that complements the wall space we're working with. This will serve as a foundation for selecting a print that not only fits the wall but enhances the overall ambiance of the room.
The Interplay Between Wall Size and Print Size
When considering the right print size for our wall, it's essential to understand how the two dimensions interact. We must keep in mind that the size of our wall dictates the maximum size of the print we can feasibly display, but there's more to it than just fitting a print within the confines of a wall's edges.
Firstly, we need to consider the visual weight of the print in relation to the wall. Large prints on small walls can feel overwhelming, whereas small prints on large walls may get lost in the expanse. It's about finding a balanced proportion that complements the space.
Here are several key points to remember as we navigate this interplay:
- Balance and Scale: A common rule is for a print to fill approximately two-thirds to three-quarters of the wall space. This creates a harmonious balance without the artwork looking too small or too dominating.
- Viewing Distance: The distance from which we'll most often view the print affects size choices. Larger prints work well on larger walls viewed from a distance, as fine details are more visible.
- Furniture and Fixtures: Consider the relationship between the print and the furniture or fixtures in the room. A print should generally be about the same width as the furniture over which it hangs.
- Groupings: For a large wall, a single large print isn't the only option. A series of smaller prints can create a gallery wall effect that fills the space effectively and adds visual interest.
- Room Purpose: The function of the room plays a role in print size. Statement pieces may be appropriate in a living room or foyer, while subtle prints could be more fitting for a bedroom or study.
Our principal goal is to create a visually appealing space where the print enhances the wall without overwhelming or underwhelming the viewer. By considering these factors, we can select a print size that brings harmony between our artwork and our living spaces.
Tips to Visualise Print Size Before Making a Purchase
Before you make that final decision to purchase a print, it's crucial to visualise how it will look on your wall. To ensure you select the ideal print size, here are some tips that we've found to be incredibly helpful:
- Use Painter's Tape: Outline the dimensions of the potential print size on your wall using painter's tape. This non-damaging tape allows you to see the scale of the artwork in relation to your space and helps you adjust the size before you buy.
- Create Paper Templates: Cut out paper or cardboard in the size of the print you're considering and tape it to the wall. Being able to see the physical space the print occupies can make a significant difference in your decision-making process.
- Employ a Virtual App: Many art sellers offer an app or an online tool that lets you visualise the print on your wall through augmented reality. Our experience with these tools has been positive, as they provide a convenient and accurate representation of the print size in your actual space.
- Measure Furniture: Consider the furniture and decor around where the print will hang. We suggest the artwork should be about two-thirds to the full width of the furniture it’s over. Measure your furniture and compare it to the potential print size for a harmonious balance.
- Photo Mock-up: Take a photograph of your wall and use a basic editing program to superimpose an image of the print onto it. It might not be perfect, but it gives a good sense of scale and placement.
- Consult with Professionals: Don't hesitate to ask for advice from a print professional. An input from a professional like Print Panoramics is invaluable, as they have lots of experience in sizing artwork for different spaces.
Remember, visualising the print size can save you time and ensure that your purchase enhances your space, rather than overwhelming or underwhelming it.
Considering Room Function and Print Size
When choosing the perfect print size for your wall, it's crucial to consider the function of the room. Different spaces within our homes and offices serve various purposes, and the print size can enhance or disrupt the room's atmosphere and usability.
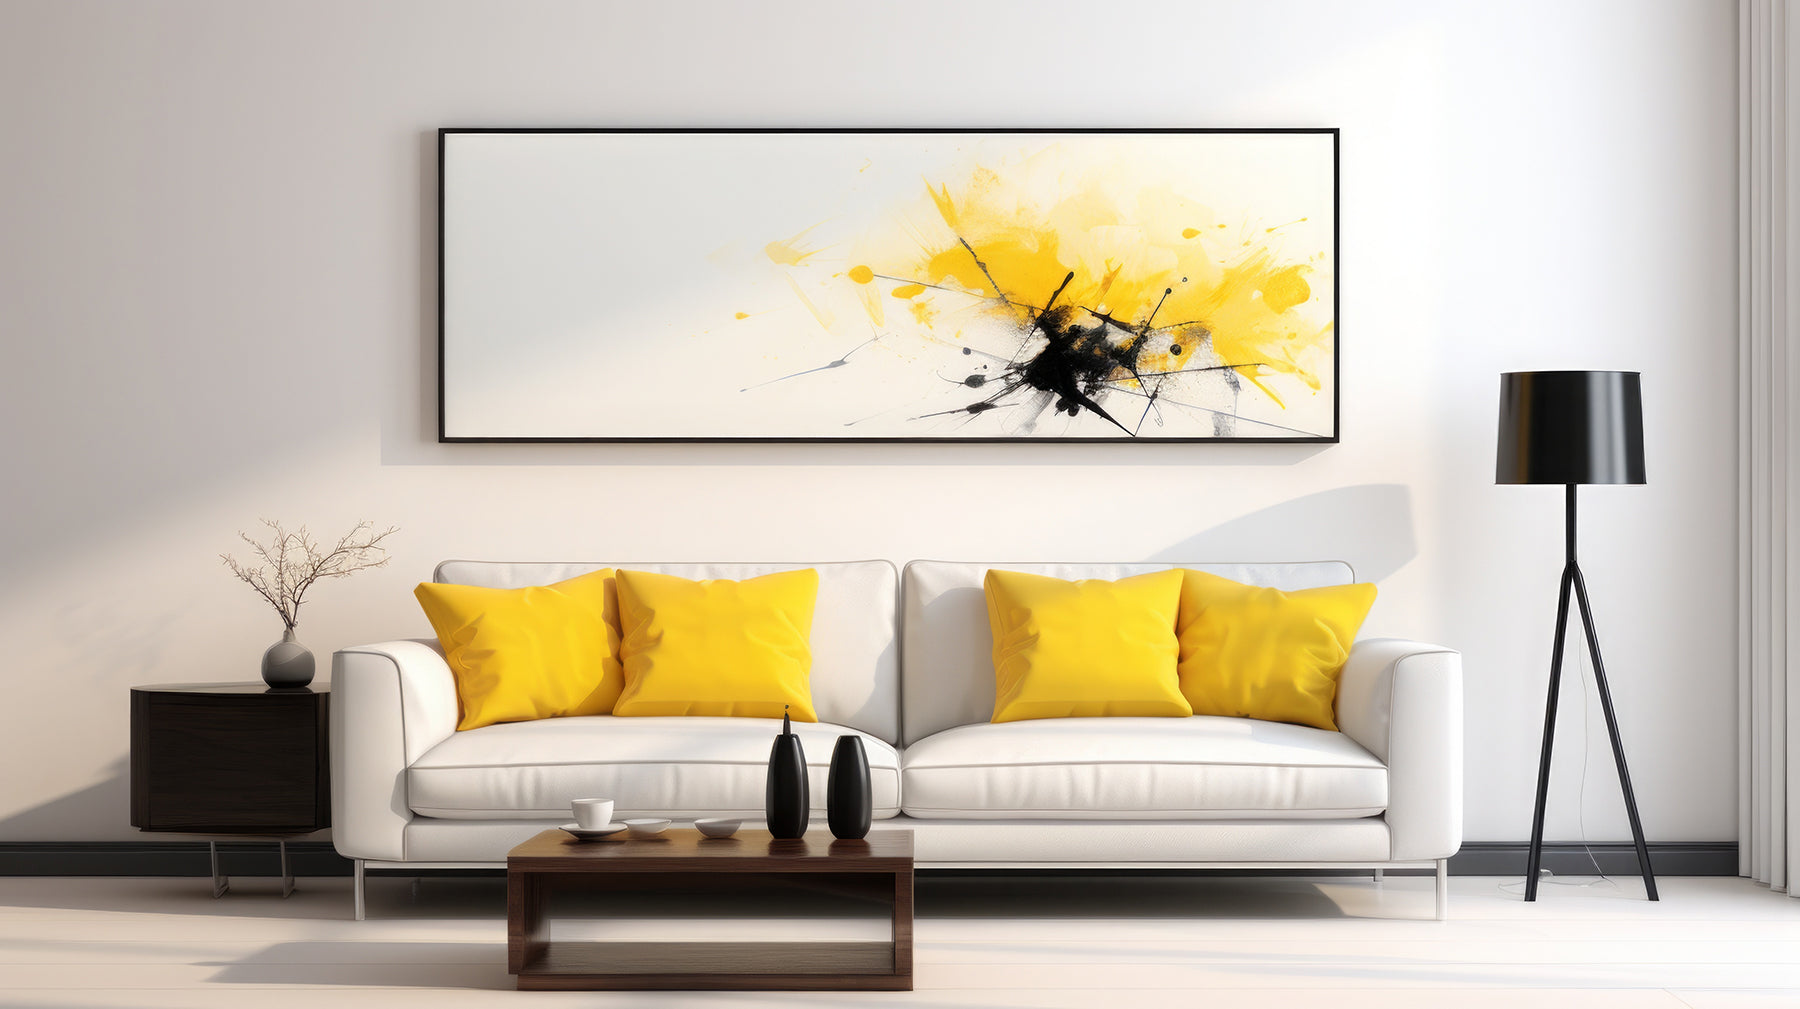
- Living Room: In a living space where relaxation and socialising occur, larger prints can create focal points without overwhelming the room. An oversized canvas print above the sofa, for instance, can tie the room together.
- Bedroom: For the more intimate setting of a bedroom, we often suggest medium-sized prints that evoke tranquility and personal connection. A serene landscape or a calming abstract piece above the bed can provide a sense of comfort.
- Dining Room: In dining areas, where we gather to eat and converse, consider the wall space in relation to table size. A series of smaller prints or one medium-to-large print can complement the room without distracting from the social experience.
- Office or Study: In a workspace, where focus is key, smaller prints that don't overwhelm the space are ideal. Art that inspires or prompts reflection without causing distraction can be beneficial.
- Hallways & Small Spaces: In transitional spaces like hallways, smaller prints work best to add interest without dominating the limited space.
Remember, the size of the print should relate to the wall size and furniture within the room. As a rule of thumb, the print should occupy between two-thirds to three-fourths of the available wall space, maintaining a balance between the art and the room proportions. A too-small print on a large wall might look lost, while a too-large print in a small room could feel imposing.
Always measure your wall space before purchasing a print. This helps ensure that the artwork complements the room function and contributes to the overall aesthetic and harmony of your space.
The Impact of Print Orientation on Wall Aesthetics
When we select prints for our walls, it's not just the size that we need to consider, but also the print orientation—which can significantly affect the room's ambiance and visual balance. Horizontal or landscape orientation tends to convey a sense of tranquility and stability, making it suitable for living rooms and bedrooms where relaxation is key. Conversely, vertical or portrait orientation can give the impression of height and vitality, which might be preferable in entryways and spaces with high ceilings.
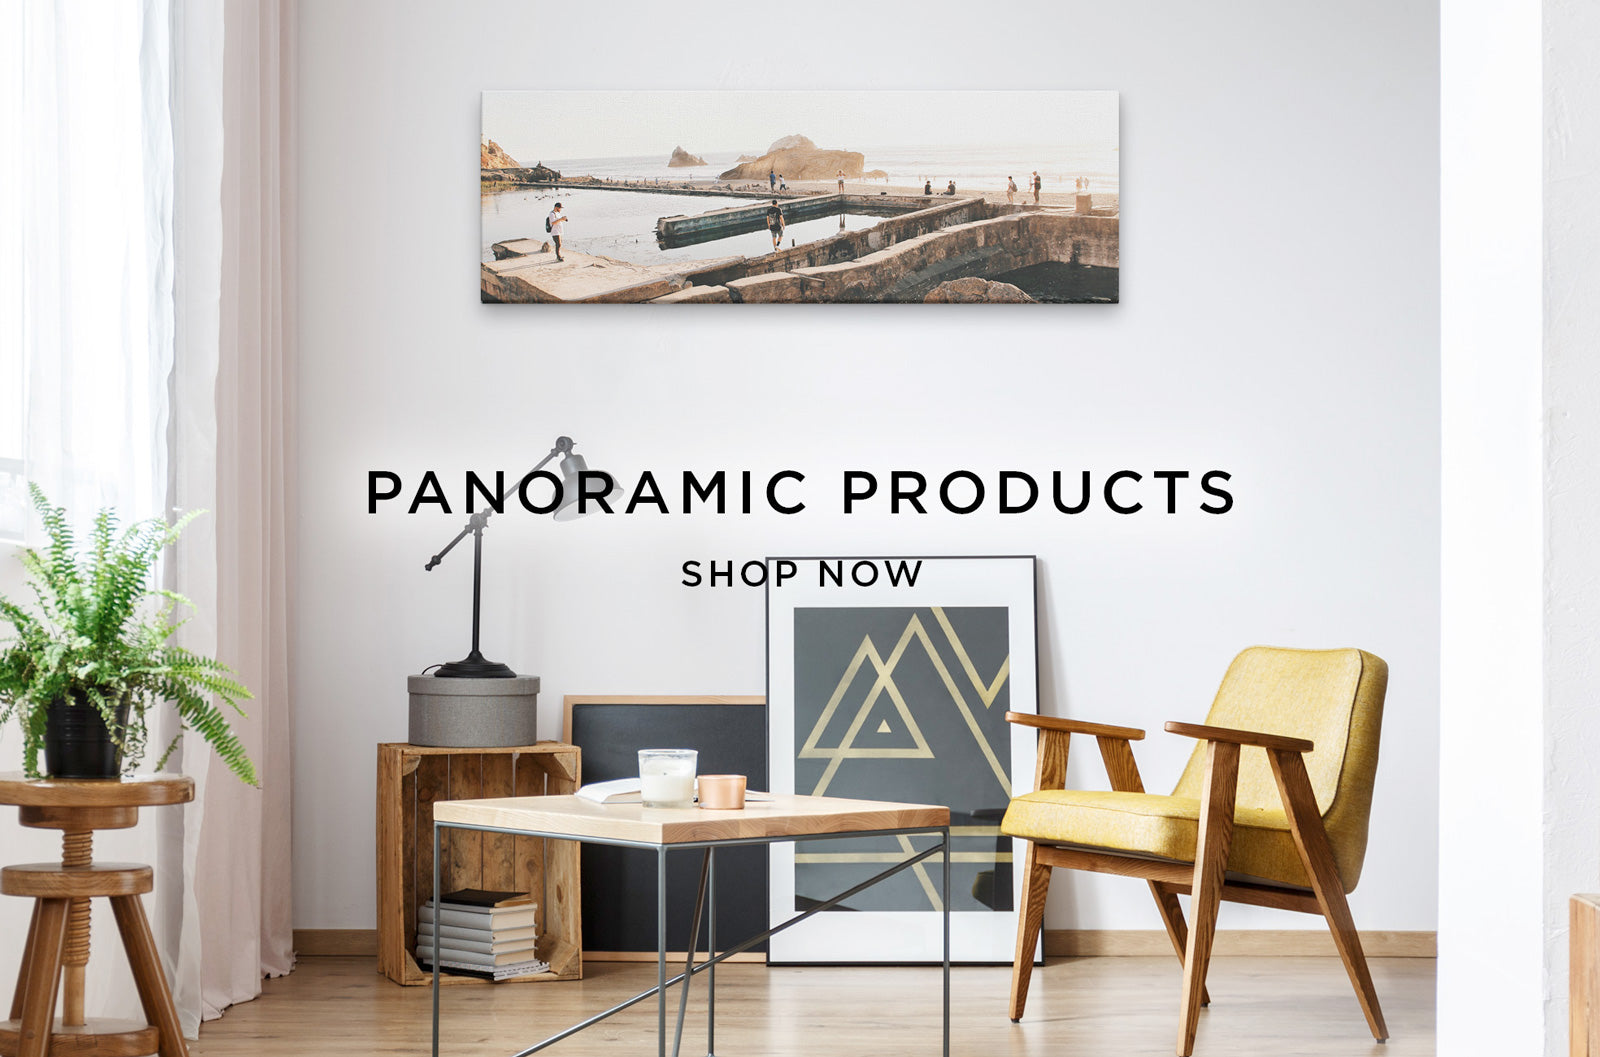
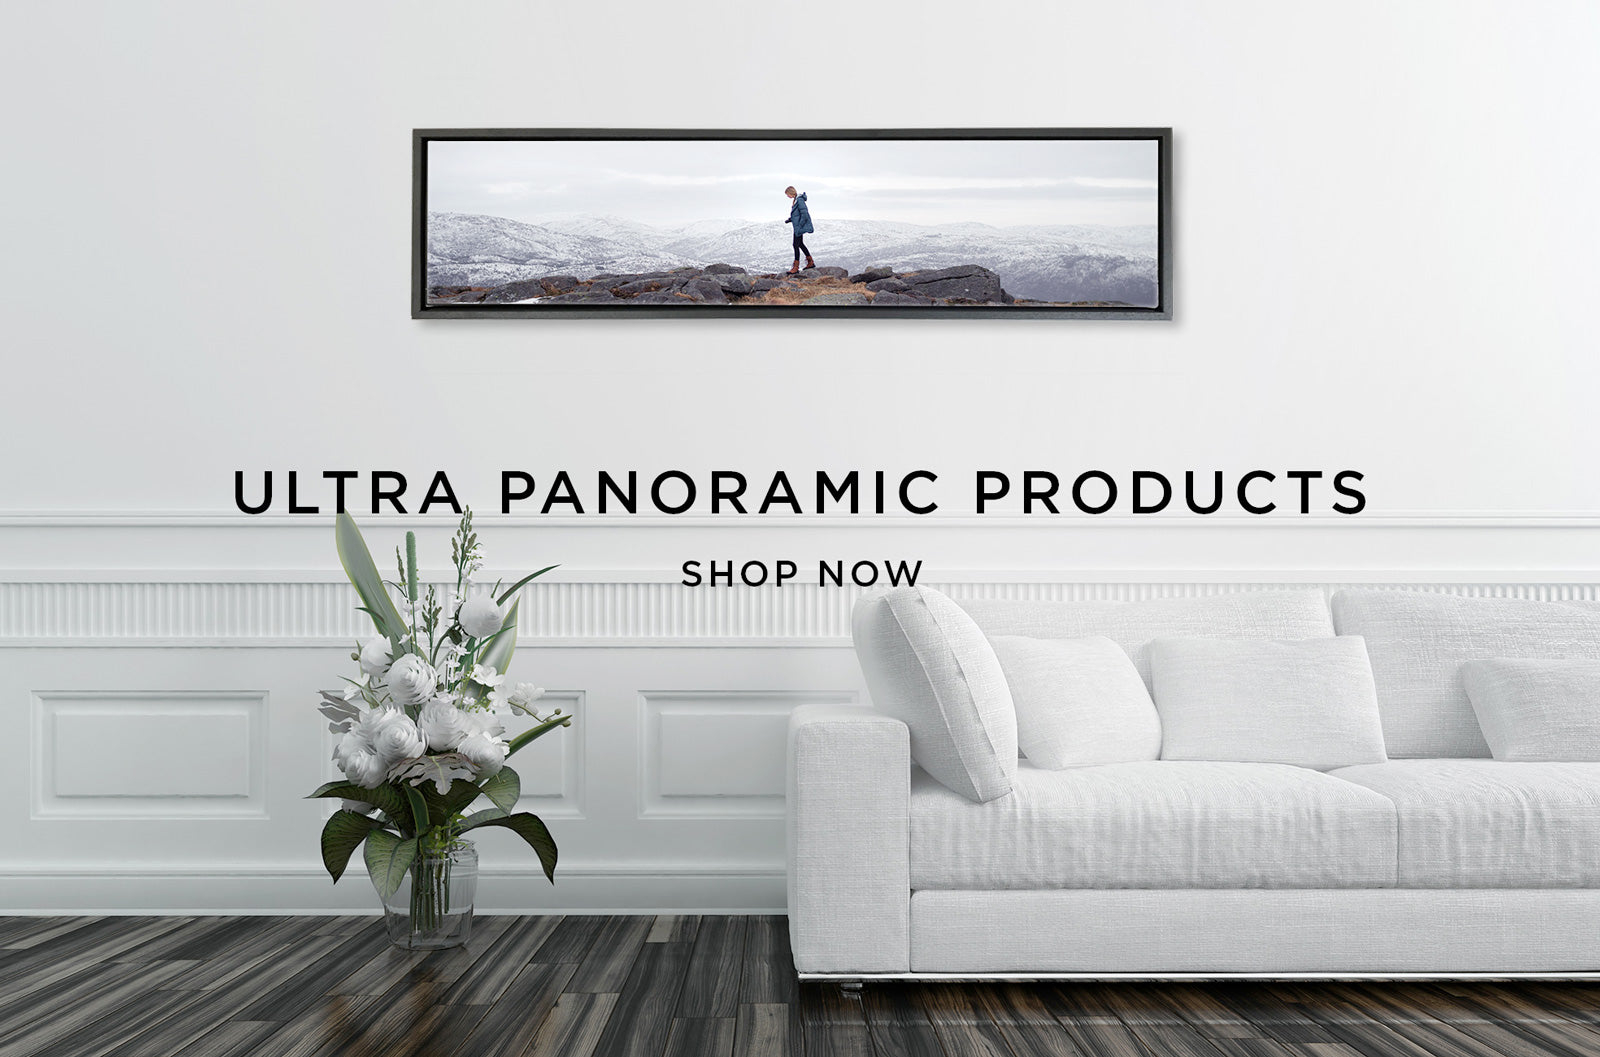
Landscape Orientation:
- Creates an illusion of width, making a narrow space seem wider.
- Encourages the eyes to move side to side, providing a panoramic effect.
- Ideal for nature scenes and panoramic photography prints.
Portrait Orientation:
- Draws the eye upward, making the ceiling appear higher.
- Well-suited for portraits, fashion photography, and images with a central subject.
- Can fill a vertical space on a wall, such as between two windows, effectively.
The orientation of a print can also alter the perceived proportion and flow of a space. For example, a horizontal print might serve as a focal point on a wide wall, while a vertical print could complement the length of a staircase wall, accentuating its rise and run.
Remember, squares work well in versatile situations due to their balanced proportions. They can fit in with either landscape or portrait elements in a room and offer a compact visual impact without dominating the wall.
Ultimately, the selection between a horizontal or vertical orientation should be dictated not only by personal taste but by the dimensions and characteristics of the wall space you're decorating. We must ensure that the print orientation enhances the overall wall aesthetics, achieving harmony in the room's décor.
Balancing Multiple Prints on a Single Wall
When we decide to adorn a wall with multiple prints, achieving a harmonious balance becomes our primary goal. We want each piece to complement the others and the overall design to enhance the room's aesthetic. Here's how we can do that:
- Assess the Wall Space: First, we take stock of the wall area. Is the wall large and expansive or smaller and more intimate? If it's a larger wall, we have the leeway to space out larger prints or cluster smaller ones. For a quaint space, smaller, cohesive prints work best.
- Choose a Theme: Consistency is key. We select prints that share a common theme or palette. This could mean matching abstracts, a series of landscapes, or a collection of monochrome photos. The unified elements bring a sense of order and intention.
- Vary Print Sizes: We don't want a monotonous look, so we mix print sizes. We might anchor the display with a larger central piece flanked by smaller prints. The variety keeps the eye moving and interested.
- Arrange Prior to Hanging: It's critical to arrange the prints on the floor before hanging. We experiment with layouts, spacing, and groupings until we find the perfect arrangement. It's like a puzzle that we lay out piece by piece.
- Use Templates: To avoid unnecessary holes, we create paper templates of each print and tape them to the wall. This step allows us to visualise the final look and make any adjustments to spacing or alignment before the commitment.
- Consider Symmetry and Spacing: We ensure that there's equal spacing between prints, typically 2-3 inches apart. This uniformity brings a clean, professional feel. In some cases, a symmetrical layout is more appealing, while an asymmetrical approach can add dynamism to the space.
Creating a balanced display with multiple prints is an art in itself. Through careful planning and a dash of creativity, we can transform any wall into a curated gallery that reflects our style and complements the room's ambiance.
Framing and Mounting: Enhancing Print Size and Wall Harmony
When we contemplate the print size for our walls, it is vital to consider not just the raw dimensions of the artwork but also how framing and mounting (also referred to as matting) can transform its presence and harmonise with the surrounding space. Framing serves as a visual boundary, often giving prints an additional measure of significance and protection. Matting or mounts, on the other hand, can provide a buffer between the print and its frame, emphasising the artwork and aiding in the overall balance within the frame.
Here's how we can use framing and matting to enhance the appearance of our prints:
- Frame Width: The width of the frame should complement the size of the print. Larger prints tend to look better with wider frames, which help anchor them on the wall, while smaller prints can be overwhelmed by frames that are too chunky.
- Matting: A mat/mount can dramatically increase the visual impact of a print. For smaller prints, a wider mat can draw the eye in and make the artwork feel more substantial. It's also pivotal to choose a mat colour that complements both the artwork and the room decor to create aesthetic cohesion.
- Proportions: Maintaining appropriate proportions is crucial. The mat should be wider than the frame to create a layered look that enhances the print. A common approach is to make the bottom of the mat slightly thicker than the other sides, adding a subtle sense of balance.
- Colour Choices: Selecting the right frame and mat colours is essential for wall harmony. The frame should either contrast with the wall to make the artwork pop or match the room's trim for a seamless look. The mat colour should ideally be a neutral or a muted tone derived from the print itself, to avoid overwhelming the image.
By thoughtfully selecting and utilising frames and mats, we can magnify the aesthetic appeal of our prints, ensuring they not only fit the size of the wall but also contribute positively to the room's ambiance.
Print Size and Room Lighting: Making the Right Choice
When selecting the ideal print size for your wall, we must consider the interplay between print size and room lighting. Both elements significantly impact the visual appeal and ambiance of a space. Here's how we can make the right choice:
Firstly, room lighting affects how we perceive the size of prints. In well-lit rooms, smaller prints may appear more vibrant and thus, feel appropriate. However, in dimly-lit rooms, larger prints can make a more substantial impact, enhancing their presence and ensuring they don’t get lost in the shadowy ambiance.
Assessing Natural Light
We should assess the amount of natural light that filters into the room throughout the day. Rooms with ample natural light can accommodate prints of various sizes without losing definition. Conversely, for rooms with limited natural light, opting for larger prints can be beneficial, as the details are more visible even in low light conditions.
Considering Artificial Lighting
The type of artificial lighting present also plays a crucial role. For instance:
- Spotlights: Can emphasise smaller prints and create dramatic effects.
- Ambient lighting: Works better with larger prints by providing a more even illumination that enhances visibility without focusing too intensely on specifics.
Choosing the Print Size
- Small to Medium Prints: Ideal for brightly lit or smaller rooms. They can be scattered or grouped without overwhelming the space.
- Large Prints: Best suited for rooms with lower light levels or expansive wall space where a smaller print might go unnoticed.
Harmonising Print Size with Light Intensity
Finally, we have to harmonise print size with light intensity. A delicate balance ensures neither element undermines the other:
- If a room has intense lighting, we may need to opt for a print with a matte finish to avoid reflections that could distort the image.
- For rooms with soft lighting, a glossy finish might work well to add vibrancy and depth to the print.
By thoughtfully considering the relationship between print size and room lighting, we ensure that each art piece is displayed to its fullest potential, effectively enriching the overall aesthetic of the space.
Optimising Print Size for Thematic and Colour Cohesion
When we consider the aesthetics of a room, we think about not just the furniture and the wall colour but also how decorative elements such as prints contribute to the overall theme and colour scheme. To achieve visual harmony, the print size we choose plays a crucial role.
- Firstly, evaluate the existing theme of your space. Is it modern and minimalistic or traditional and intricate? Larger prints tend to make a bold statement and can serve as the focal point in minimalist settings. Conversely, smaller prints can complement a room with more detailed décor without overwhelming it.
- Consider the prevailing colour palette of the wall and the room. We want the print to enhance these tones, not clash with them. A large print with a colour that sharply contrasts the dominant hues may disturb the colour balance, while a print in a size that aligns well with the subtle colour transitions can serve to accentuate and tie the room together.
- Balance is key, so always reflect on the visual weight. A massive print on a small wall can make the space feel cramped, while a small print on a large wall can get lost. To maintain thematic and colour cohesion, we must find a print size that integrates comfortably within the wall space and resonates with the room's colour rhythm.
- Lastly, let's not forget about clusters of smaller prints. These can be a wonderful way to maintain cohesion, as the colours and themes can be spread out across various prints. By doing so, we create a gallery effect, which can be visually impactful yet harmonious with the room's overall vibe.
To sum up, optimising print size for thematic and colour cohesion requires contemplating the space's existing aesthetic and aiming for a print size that contributes positively to the overall harmony.
Final Thoughts: Trusting Your Intuition and Style Preferences
While we've delved into the myriad of considerations for selecting the perfect print size for your wall, it is essential to remember that, ultimately, your intuition and personal style preferences play a significant role. Our homes are reflections of our personalities; thus, the art we display should resonate with us on a personal level. Here are some key takeaways about trusting your instincts in this process:
- Listen to your gut feeling: When you look at a space, pay attention to your initial reaction. Is a particular print size instantly appealing? Your first impression can be a powerful indicator of what works best for you and your space.
- Combine rules with personal taste: The guidelines for choosing print sizes are there to help, but they are not absolute. Combine these rules with what you inherently find appealing. If a particular size or orientation catches your eye, it may be worth exploring even if it deviates from standard suggestions.
- Experiment with different scenarios: Sometimes visualising different print sizes in your space can clarify what feels right. Use mock-ups or painter's tape to outline potential artwork on your walls to help envision the final outcome.
- Mix and match: Feel free to create a gallery wall where prints of various sizes coexist harmoniously. A diverse collection can add character and depth to your space.
- Trust the evolution of your taste: Your preferences may change over time, and that's okay. The ideal print size for you today may differ in the future. Embrace the evolution of your style.
In navigating the balance between technicality and personal taste, it is our collective intuition and preferences that make our spaces truly ours. Let your individual flair be the ultimate guide in the quest for the ideal print size for your wall.