

Top Tips For Panoramic Photography
Imagine this: You're capturing the breathtaking view atop the Grand Canyon on a holiday or shooting a client's picturesque destination wedding, but the camera isn't able to contain the vast expanse in front of you. While you're able to take in the beauty of your backdrop, your camera cannot possibly grasp the entire landscape, so what do you do? The answer is simple: Panoramic photography, where you take multiple shots of a subject and stitch it together to create a single image.
Perfect for both indoors and outdoors, you can shoot a panorama of a landscape, graduation, wedding, or even the skyline in your backyard. Ready to get started? Let's go over some quick tips on making the best of a panoramic shot!
1. Use a tripod:
Mounting your camera on a tripod with a built-in bubble level and a ball head ensures that you're able to capture sections of any scene smoothly and accurately. If you rotate your camera without levelling your base, you'd end up with a scene that's actually tilted and a horizon that's off-kilter. Think of it this way: Your lens is a curved piece of glass, and when you hold it at a predefined level, the light will hit the sensor at roughly the same angle for all the shots. Without appropriate levelling, distant objects in the background of your 'scene' will fan out and you will not have an adequate overlap for a panorama. For example, consider the following picture of Bryce Canyon, Utah that was taken with a 16mm lens on a camera that was not levelled. While the foreground details seem to line the right way, the horizon is choppy and doesn't fit in with the rest of the picture.

2. Rotate your lens:
 Once you've mounted the camera on the tripod, position your camera on the rail-side, otherwise, you'd most likely end up rotating the camera body, instead of the lens. For a panorama, the lens should be rotated around the no-parallax point, which can be found through a trial-and-error process by panning your camera left-right to see if objects like, the bushes, change in perspective with the background. If the bushes don't seem to move left-right with your camera, then try bringing your camera slightly backwards/forwards. When you don't see a relative movement between background and foreground objects, that's when you know you've positioned your camera right.
3. Overlap appropriately:
In order to successfully stitch your images to create a panorama, the software needs to be provided with a little overlap from photo-to-photo. If you're using a wide angle lens, like a 16mm or a 14mm, then you might have to overlap almost 50% of image-to-image, whereas, with longer lenses like 200mm or 70 mm that have less distortion, you're looking at an overlap of only 10%. Increasing the overlap helps reduce 'flaring' but with a selection of longer lenses, you don't have to worry about that.
4. Lock your camera settings:
Focus distance, focal length, ISO, shutter speed, aperture and white balance are parameters that need to be the same for all the shots you take to create a panorama. Without locking these settings, your final image may have shifting colours, exposure issues, lighting changes, and focus mismatch.
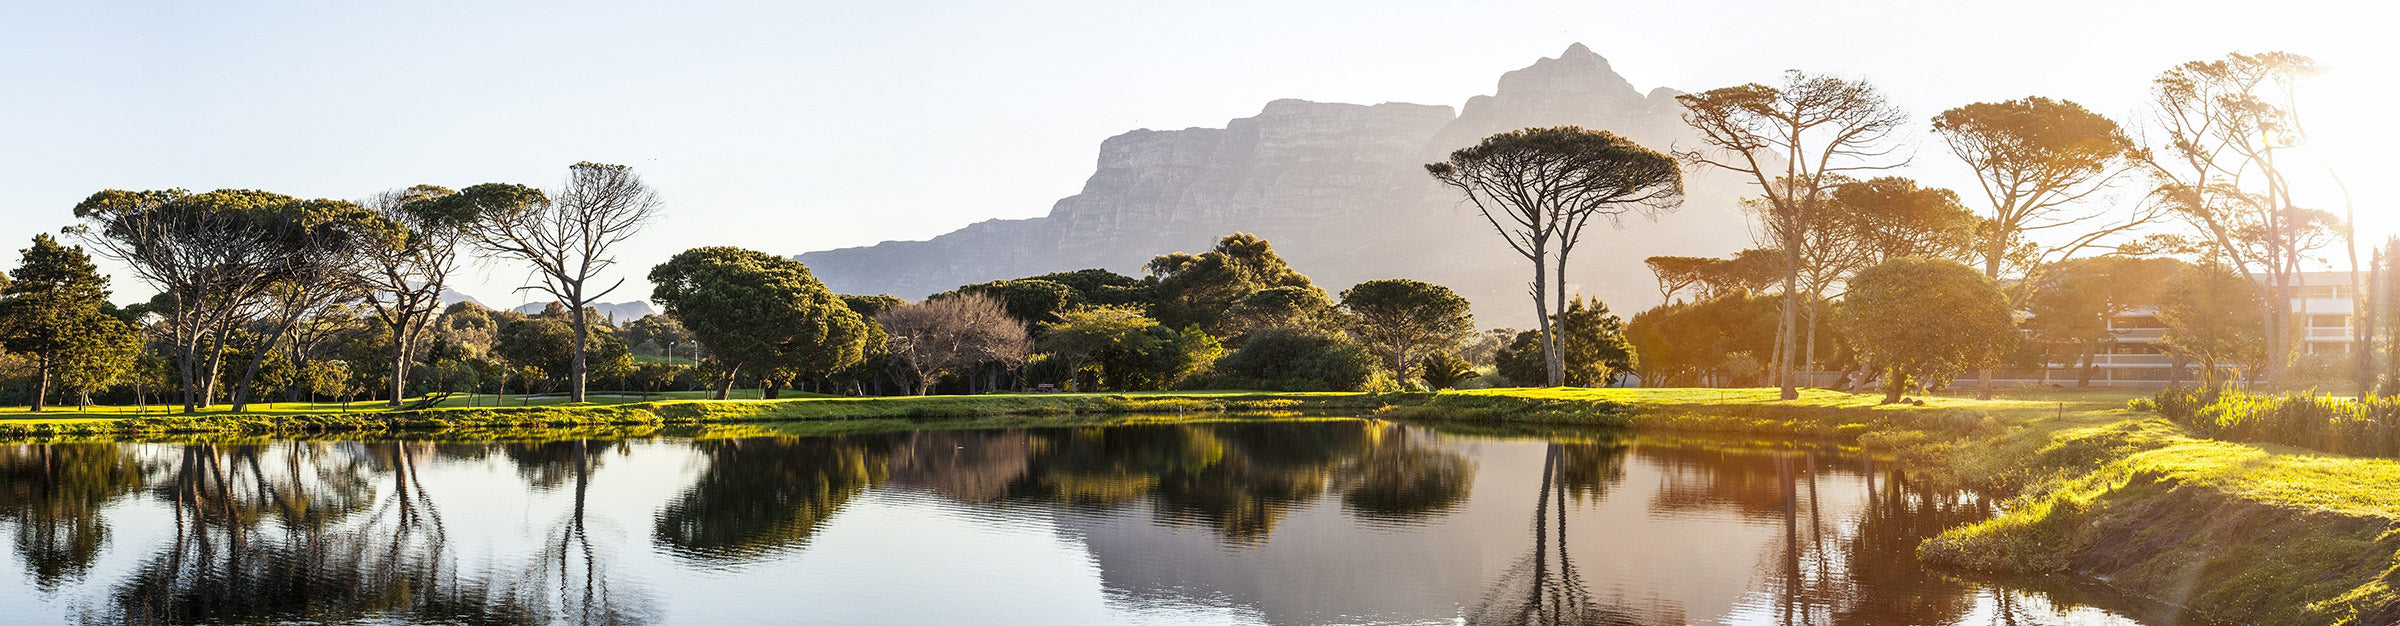
5. Follow the rule of thirds:
While this is applicable to both regular and panoramic pictures, the rule of thirds ensures you have an ideal image composition. Think of it like this: You image is divided vertically and horizontally into thirds, which means it comprises of nine squares of same dimensions. Experts recommend that the focus of your picture, where you want to draw the viewer's attention to, should fall on the four points where the lines intersect. For panoramic shots with the perfect depth and balance, concentrate of the three horizontal blocks in the middle. In the picture below, you can see that the mountain range falls exactly in that region and travels across the centre of the picture.

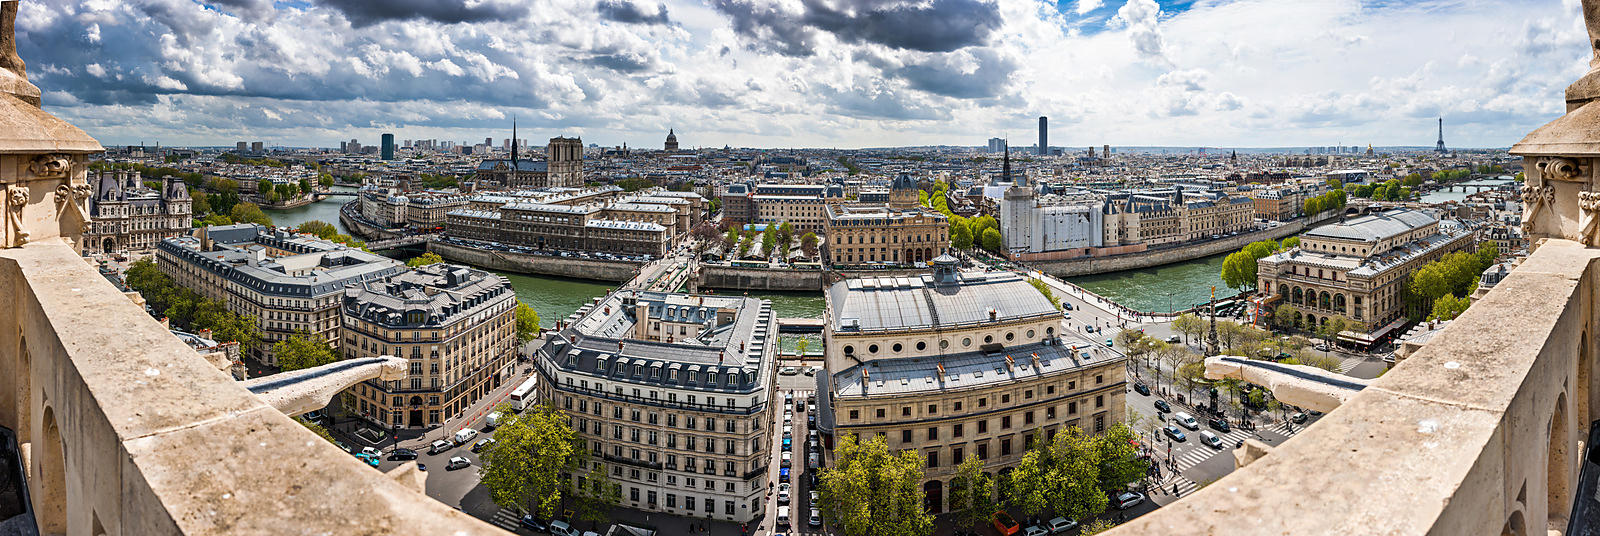
6. Choose your subjects wisely:
A lot of movement in the frame doesn't make for a great panoramic shot. For example, who wouldn't love a panoramic of Times Square or The Eiffel Tower? However, both locations are characterized by a ton of activity - the cars are in motion, lights blinking, news ticker or people are walking by. Since you need at least 5-7 shots that look relatively the same, the images will not line up seamlessly. If you're just starting out or perfecting your panoramic-making skills, then start with subjects that don't move. For landscape pictures, involving mountains, forests or the sea, creating a horizontal panoramic is substantially easier.
7. Spend extra time on 'stitching' properly:
Once you've all your shots loaded into your computer, use your preferred editing software to merge them to create a panorama. Adobe Photoshop offers a plugin that automatically stitches images for you, however, if you can choose from a multitude of other software packages in the market. Remember, stitching goes beyond just lining up your images together. Panoramic shots often have plenty of horizontal lines and can often appear to be bent at the seams, if you're not careful. Stitching software tends to 'warp' the images to achieve perspective as well, so make sure you spend enough time post-shooting to create a panorama.

8. Meter for highlights:
Since you're going to be shooting a wide area, metering your 'scene' is extremely important to ensure that you don't blow out the highlights. To even out your metering, find the brightest spot in your picture, for example, the clouds, and make a note of the shutter speed, white balance, or aperture settings that your camera suggests. With your metering mode set to manual, you can now pick a pair of settings in the centre of the display, or go for something slightly darker to preserve the cloud details. Snap a picture and check the histogram to examine if you're in the acceptable range. Avoid using a polarizer, as that often leads to uneven backgrounds.
9. Take plenty of shots:
While this may seem like a no-brainer, sometimes it might be difficult to gauge exactly how many shots you need to take to create a great panorama. You don't want to reach home only to realize during the 'stitching' phase that you're missing a spot. Always start shooting from the extreme left of your 'scene' and slowly pan to the extreme right. Don't change your settings between shots, and be quick. When you're outdoors, or capturing moving subjects, things can change in the blink of an eye. The weather might suddenly become cloudy when half of your shots include natural lighting or you subject changes their position. Depending on your subject, you might have to take anywhere between 10 to 40 panoramic images. For example, the image below has 33 images of the Colorado River that was shot and stitched together by Peter Carrey.

Remember, Rome wasn't built in a day. Taking high-quality panoramic shots takes a fair amount of practice to master. There's so much learn, from the parameter settings that work the best for you to the number of photos you need to take for stitching. Allow yourself sufficient time and failed shots to perfect the art of panoramic photography.
Don't forget when you are done and have the perfect final edit, you can print your panoramic photo, hang it pride of place on the wall and show off your skills to all.
